Roofing Estimating Software: 5 Checks Before You Trust It
Oleh Onysko 16 October 2026 13 min read
In this article
Roofing estimating software turns a few measured inputs (plane dimensions, pitch, edge lengths and penetrations) into an order for shingles, underlayment, starter, ridge cap, drip edge and flashing. Every step is arithmetic you can check by hand, which is exactly why a good tool shows each step instead of one total.
Here is the fact that clears up a lot of bad estimates: a hip roof and a gable roof over the same footprint, at the same pitch, have exactly the same surface area. What changes between them is the line work and the waste. So when two roofs with the same squares get very different orders, look at hips, valleys and the waste rate, not the field area.
| Roofing estimate fact | What it means for you |
|---|---|
| One square | 100 sq ft of roof surface |
| Slope factor | square root of (144 plus rise squared), divided by 12 |
| 6 in 12 factor | 1.1180 |
| Asphalt shingle minimum | 2 in 12 (IRC R905.2.2) |
| 2 to 4 in 12 | Two layers of underlayment |
| Worked example | 2,000 sq ft gable, 22 order squares, 66 bundles |
What roofing estimating software must measure
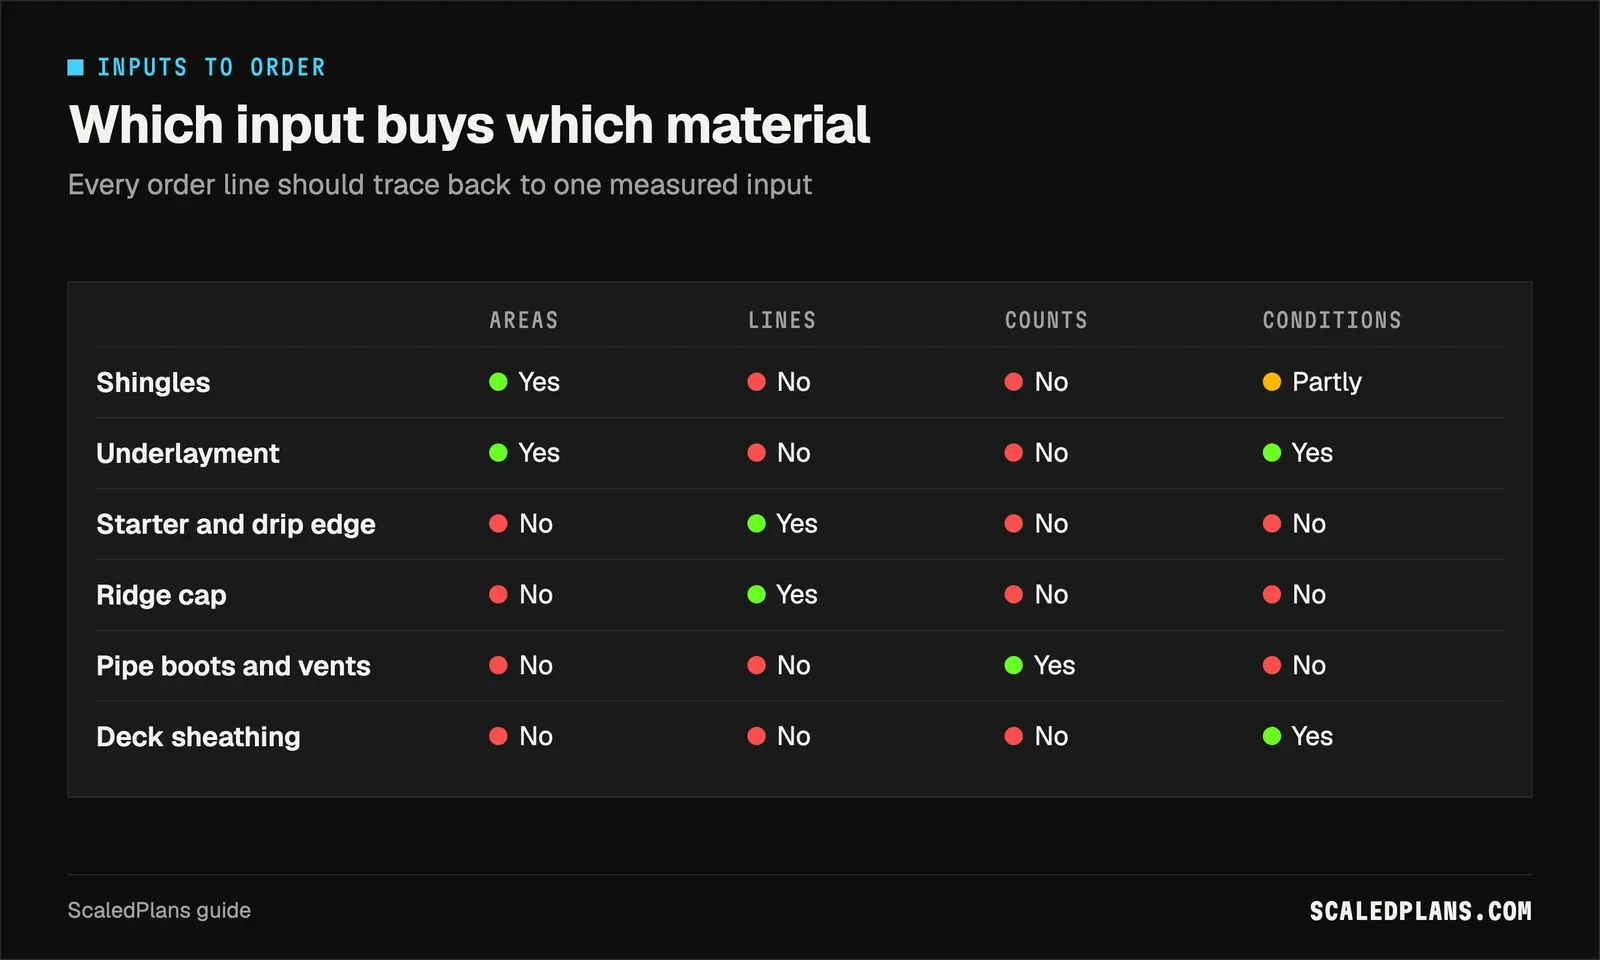
A shingle roof estimate rests on four kinds of input:
- Areas: the sloped surface of each roof plane.
- Lines: eaves, rakes, ridges, hips, valleys and wall intersections.
- Counts: pipe boots, vents, skylights, chimneys and other penetrations.
- Conditions: pitch, existing layers, deck condition and local code items such as ice barrier zones.
Every material on the order comes from one of those. Areas become squares. Lines become linear feet of starter, drip edge, ridge cap, valley material and flashing. Counts become accessories. Conditions change multipliers or add whole lines: a tear off adds disposal, a low slope adds underlayment, a rotted deck adds sheathing.
Keep inputs separate from the order. A plane measured at 1,000 sq ft is a fact about the roof. Eleven squares ordered for it is a decision that includes waste and packaging. When someone asks why the order is 22 squares, the answer should read "20 net squares plus a stated 10%", not one number.
Roofing takeoff: planes, pitch and the slope factor
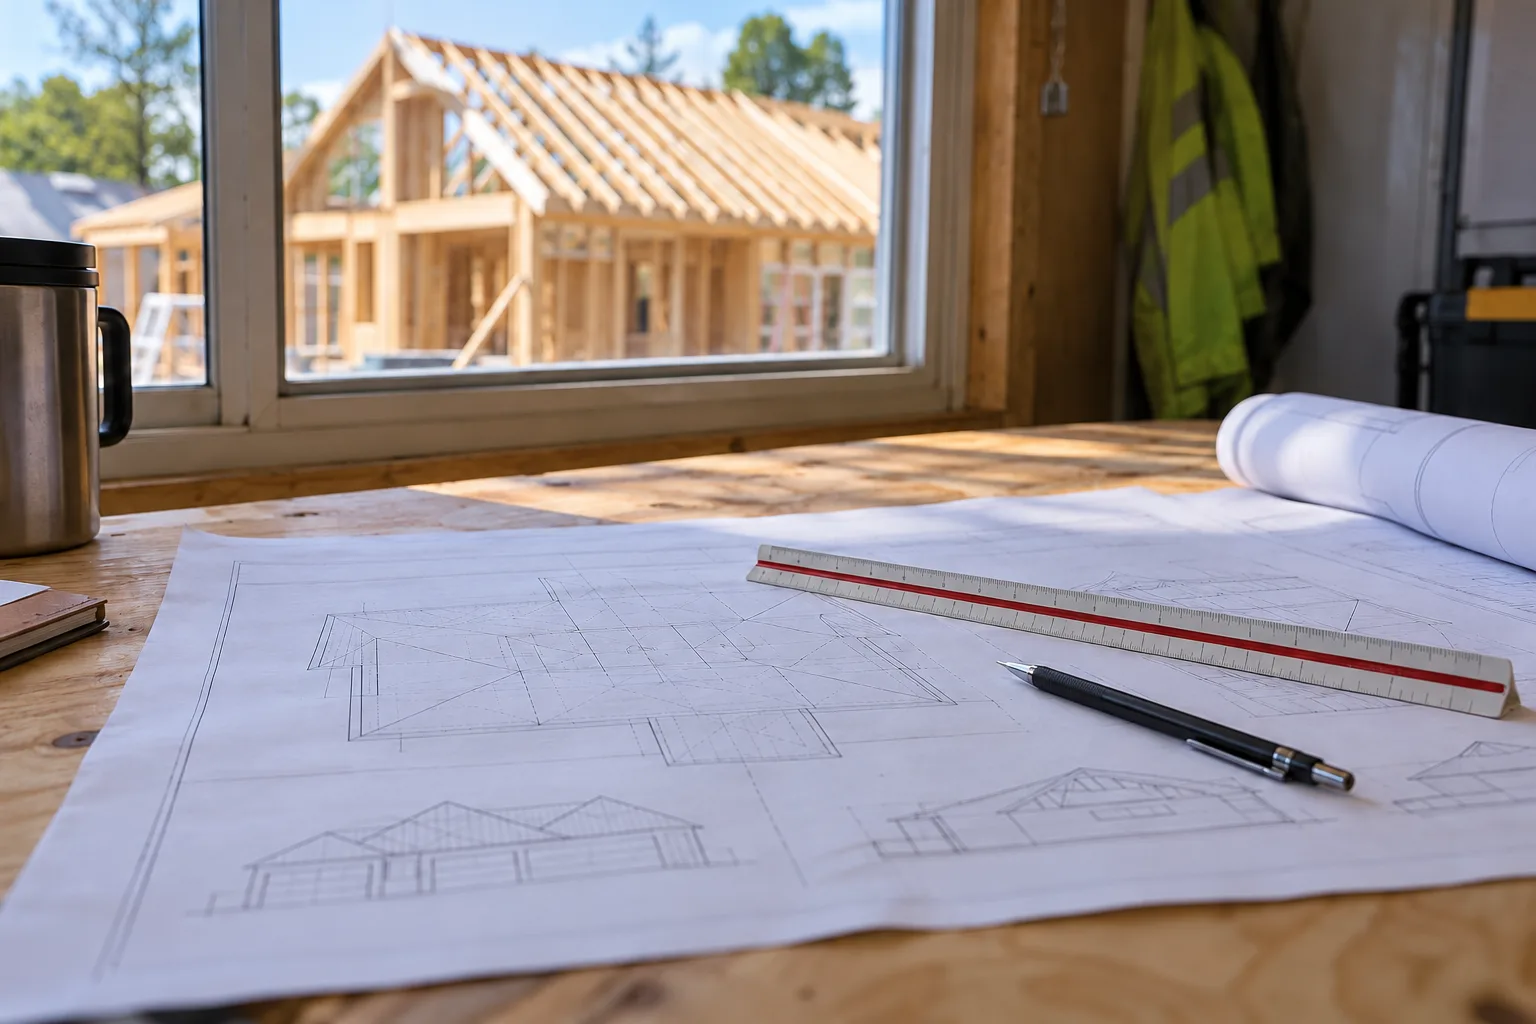
A roofing takeoff from plans starts with the roof plan, which shows each plane from above, and the elevations or sections, which show pitch. Plan area is not roof area. Multiply each plane's plan area by its slope factor.
| Pitch | Slope factor | 1,000 sq ft of plan becomes |
|---|---|---|
| 3.5 in 12 | 12.5 / 12 = 1.0417 | 1,041.7 sq ft |
| 4 in 12 | 1.0541 | 1,054.1 sq ft |
| 6 in 12 | 1.1180 | 1,118.0 sq ft |
| 12 in 12 | 1.4142 | 1,414.2 sq ft |
Take a 40 x 28 ft footprint with 1 ft overhangs: 42 x 30 = 1,260 sq ft of plan area. At 6 in 12 that is 1,260 x 1.1180 = 1,408.7 sq ft of roof, or 14.09 squares, whether the roof is a gable or a hip. The footprint itself comes off the site plan for the lot or the floor plan, so check it there before you add overhangs.
Mixed pitches break that shortcut. A main roof at 8 in 12 with a porch at 3 in 12 needs each plane measured and factored on its own, and the porch may need different underlayment. Record pitch per plane with its source: a note on the elevation, a dimension you scaled, or a field reading. If you are new to pulling dimensions off a set, the blueprint reader guide covers scales and sheet references.
Roofing takeoff software for eaves, rakes, hips and valleys
Roofing takeoff software should list every line type on its own row, because each one buys a different product. Eaves take drip edge and starter. Rakes take drip edge. Ridges and hips take ridge cap. Valleys take lining or a woven or closed cut detail. Walls take step flashing on sloped intersections and apron flashing on level ones.
Rakes and hips are sloped lengths. On the 6 in 12 gable above, four 15 ft half spans give 4 x 15 x 1.1180 = 67.1 lf of rake. A hip runs diagonally, so it needs a bigger factor: at 6 in 12 that is the square root of (2 + 0.25) = 1.5. Build the same footprint as a hip roof and you get 4 x 15 x 1.5 = 90 lf of hips plus a 12 ft ridge, for 102 lf of ridge cap.
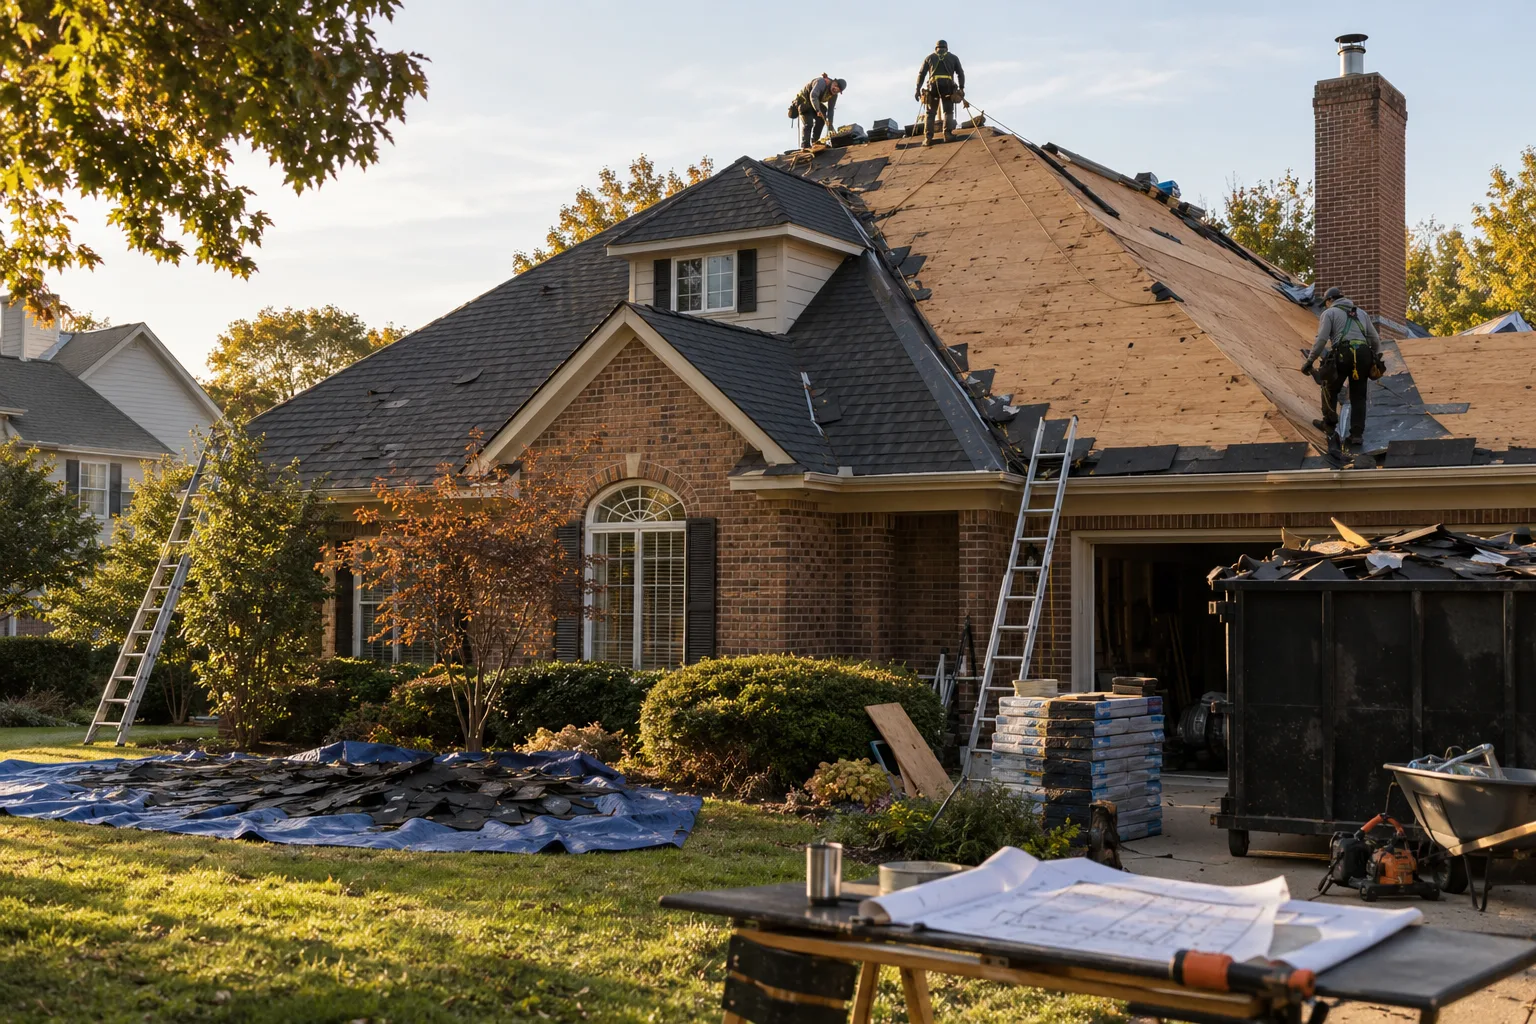
Waste follows the line work. A plain gable cuts shingles mainly at the rakes; a hip cuts along every hip, and valleys add more. Using 10% on the gable and 15% on the hip moves the same 14.09 squares to 15.50 and 16.20 order squares. State the rate and tie it to the roof shape, so you can defend it on a cut up roof and trim it on a simple one.
Worked example: a 2,000 sq ft gable at 3.5 in 12
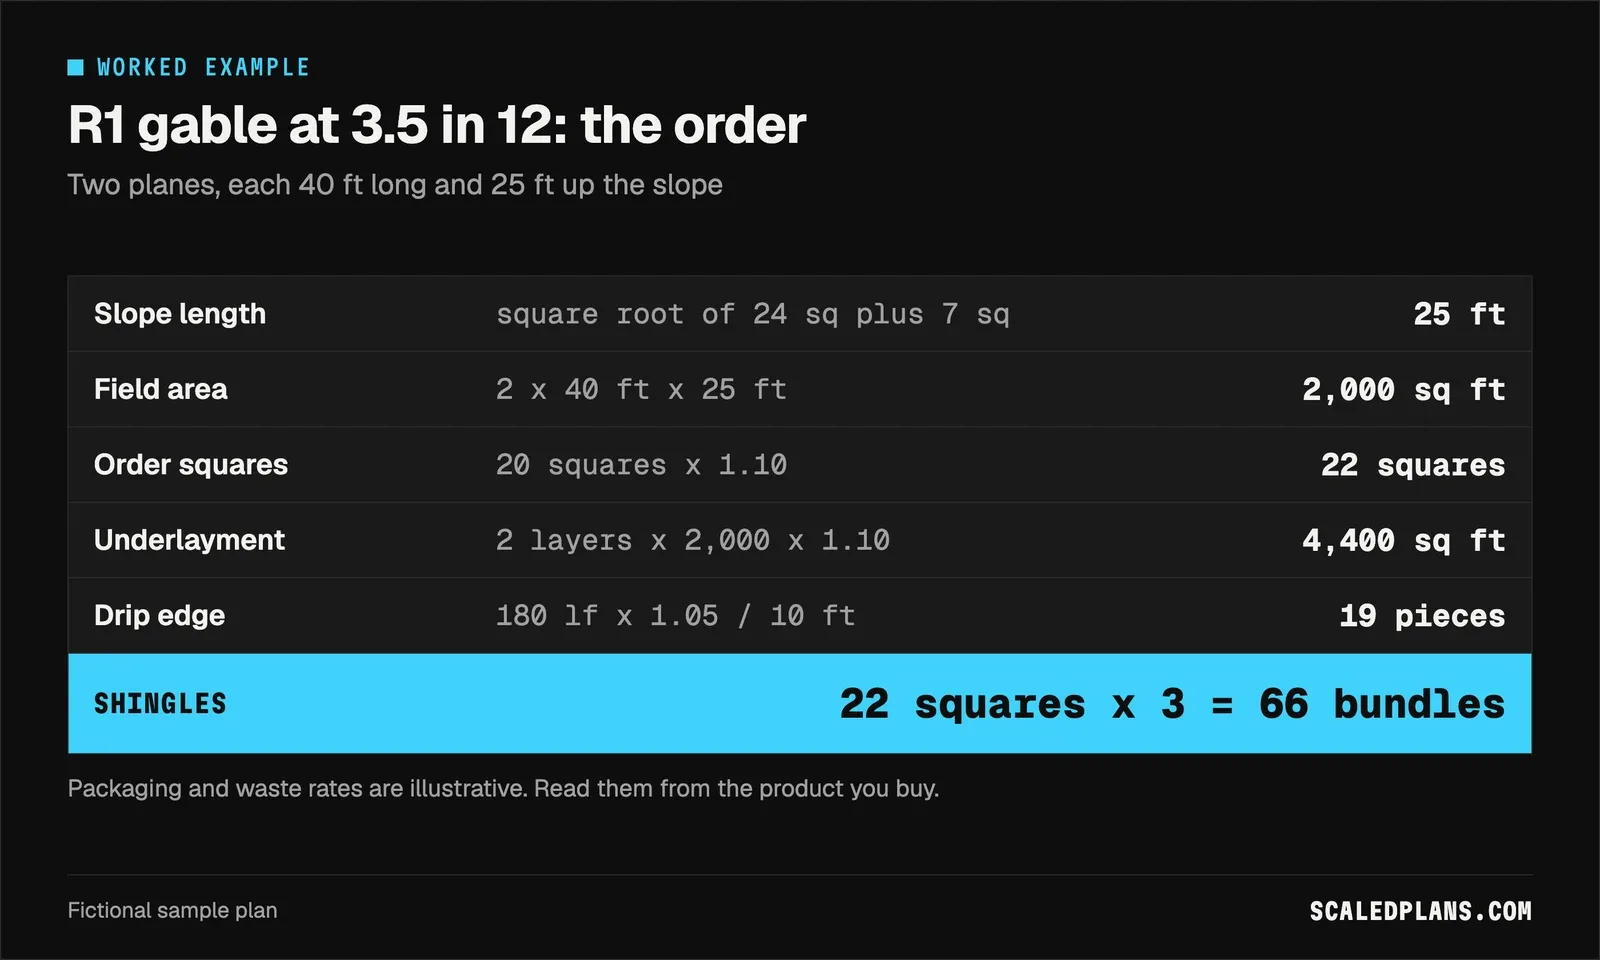
The fictional R1 roof is a simple gable with two planes, each 40 ft long and 25 ft up the slope. Its pitch is 3.5 in 12: a 24 ft run with a 7 ft rise, and the square root of (24 squared plus 7 squared) = 25 ft confirms the slope length.
| Order row | Basis | Quantity |
|---|---|---|
| Field area | 2 x 40 x 25 | 2,000 sq ft (20 squares) |
| Order squares | 20 x 1.10 | 22 squares |
| Shingle bundles | 22 x 3 | 66 bundles |
| Underlayment, double | 2 x 2,000 x 1.10 = 4,400 sq ft | 5 rolls at 1,000 sq ft |
| Drip edge | 80 + 100 = 180 lf; 180 x 1.05 / 10 | 19 pieces |
| Starter / ridge cap | 80 lf eaves / 40 lf ridge | 80 lf / 40 lf |
| Penetrations | sample schedule | 2 pipe boots |
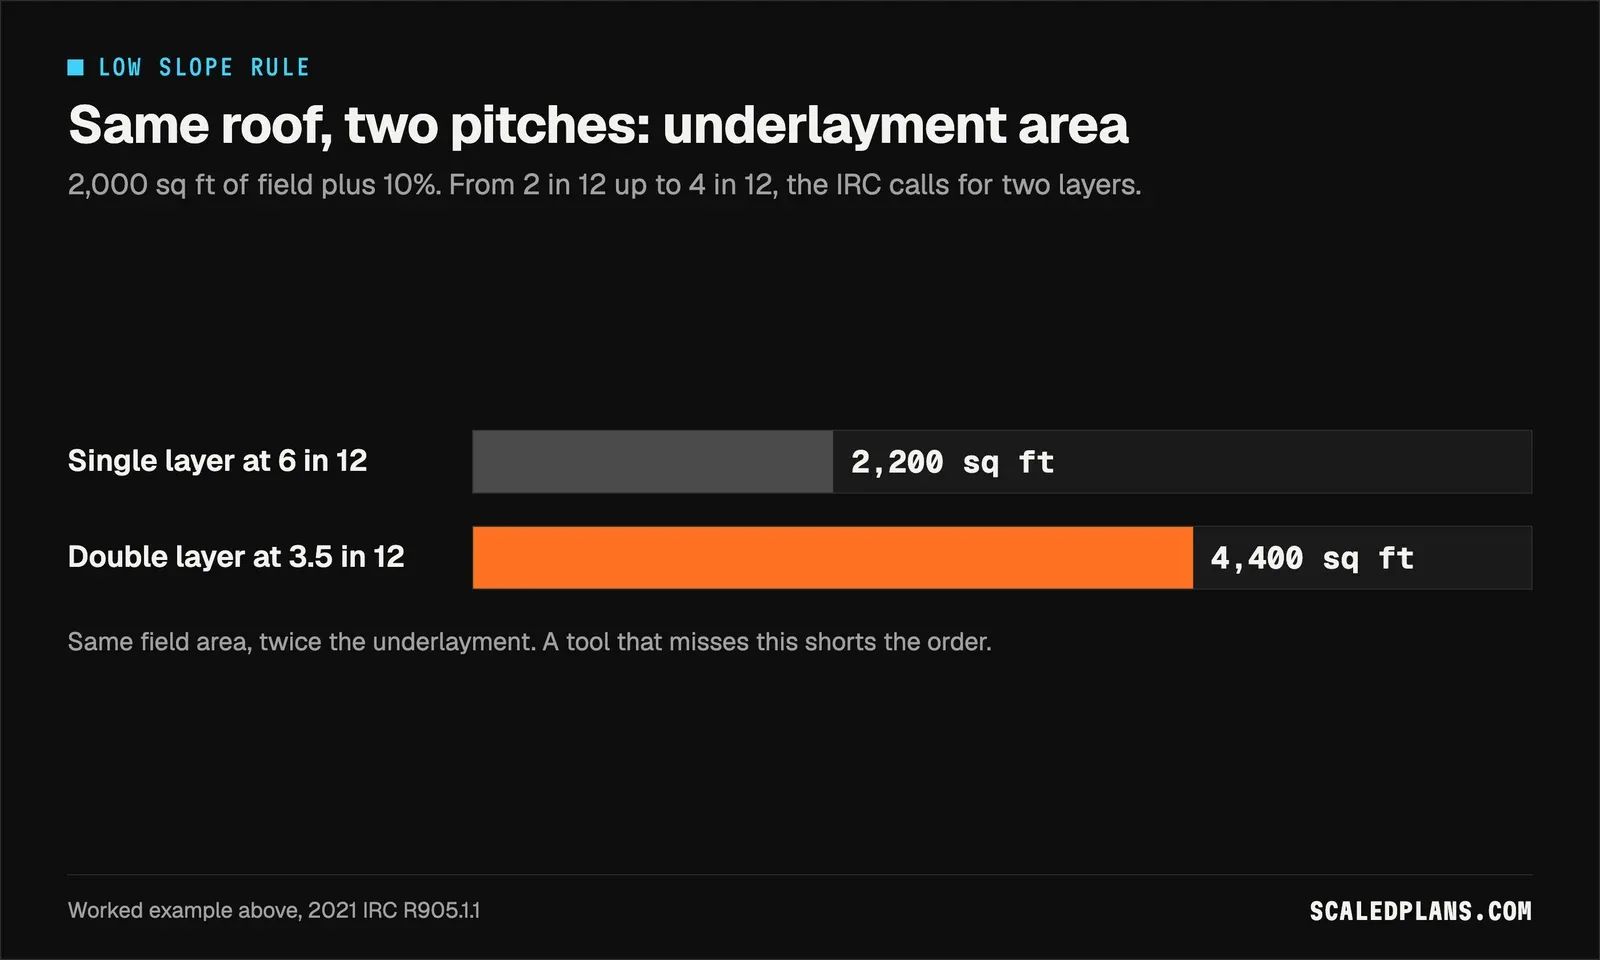
Because 3.5 in 12 sits between 2 in 12 and 4 in 12, the underlayment row doubles. The 1,000 sq ft roll and 3 bundles per square are illustrative; read the real figures from the wrapper or data sheet of the product you buy.
How to do a roofing takeoff
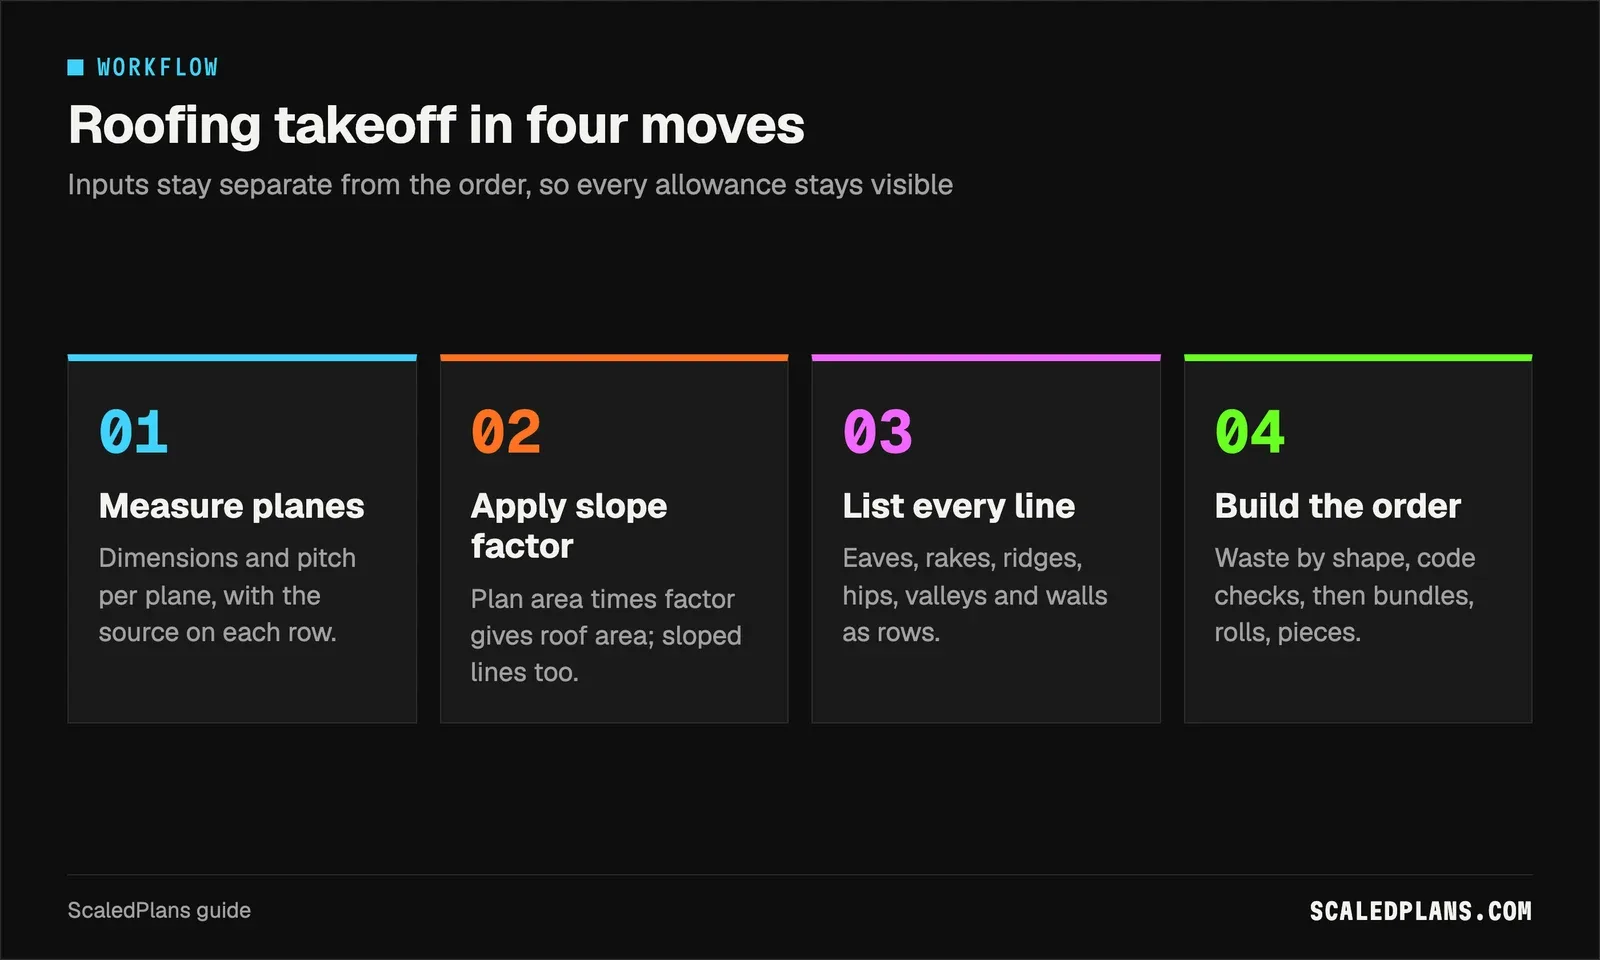
- Measure each plane
List every plane with its dimensions and pitch from the roof plan, elevations or a field measurement. Note the source on each row.
- Apply the slope factor
Multiply plan area by the factor for that plane's pitch. Total the planes and divide by 100 for squares.
- List every line type
Measure eaves, rakes, ridges, hips, valleys and wall flashing as separate rows, using sloped lengths where the line follows the pitch.
- Check the code conditions
Flag planes under 4 in 12 for double underlayment, anything under 2 in 12 as no asphalt shingles, and local ice barrier rules.
- Build the order
Add a waste rate tied to roof shape, then convert to bundles, rolls and pieces from the product packaging.
Underlayment, slope limits and code checks
Pitch changes more than area. Under the IRC, asphalt shingles need a slope of 2 in 12 or more (R905.2.2), and slopes from 2 in 12 up to 4 in 12 need two layers of underlayment (R905.1.1 in the 2021 edition). Manufacturers say the same: Atlas's installation instructions call for a double layer over the whole deck between 2:12 and 4:12. Malarkey's instructions note one exception: where 2015 or later I-Codes are adopted, one layer of self adhering ASTM D1970 underlayment can replace the double layer.
Other lines depend on location. Ice barrier at the eaves applies where your jurisdiction says ice dams are a risk. Reroofing over an existing layer may or may not be allowed. Check each with your permit office or AHJ rather than assuming the model code applies unchanged.
Deck repair is the line most often left vague. Put an explicit allowance row on the estimate in sheets, not as a percentage, and say how replacements beyond it are handled. If a repair turns into framing work, the lumber takeoff guide covers sheathing and framing counts, and structural questions go to a qualified professional. For how an estimator scopes layers, decking and flashing before the shingle order, see how a roofing estimator builds a reroof estimate.
Roofing estimates by situation
| Situation | What to do |
|---|---|
| New construction or addition | Take planes and pitch from the roof plan and elevations |
| Reroof, simple gable | Tape eaves and rakes, read pitch at two or more spots |
| Cut up hip with valleys and dormers | Measure every plane; raise waste and list each hip and valley |
| Porch or plane at 2 to 4 in 12 | Double the underlayment row for that plane |
| Plane under 2 in 12 | No asphalt shingles; price a low slope system instead |
| Tear off, deck unknown | Add a sheathing allowance in sheets with a clear overage rule |
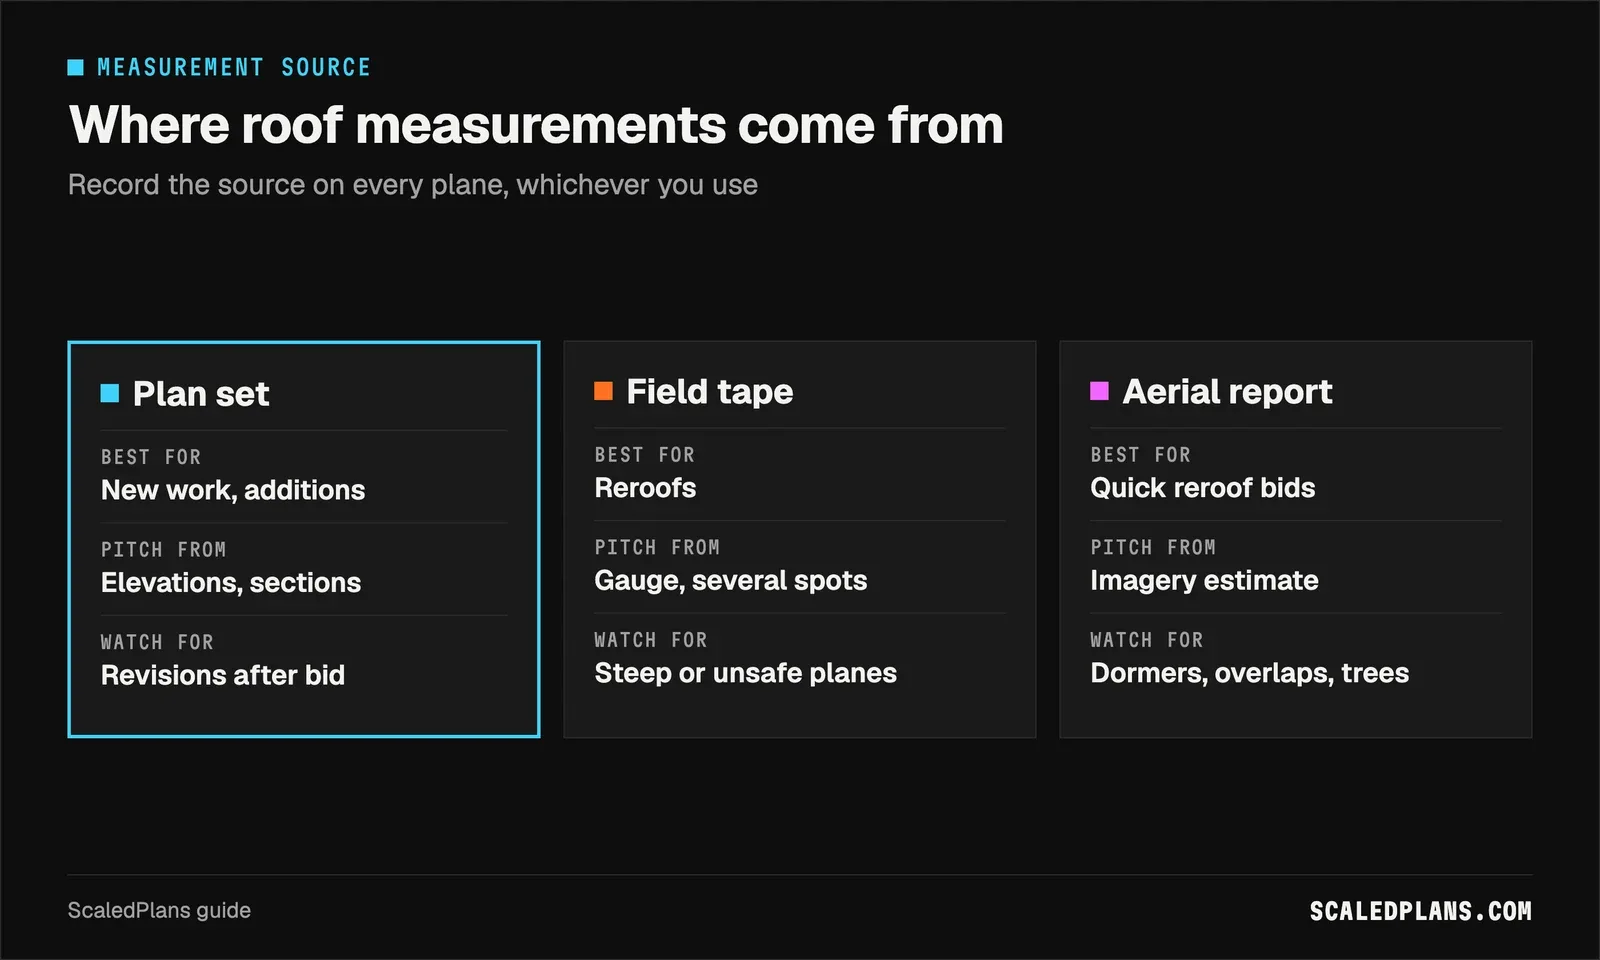
Many roofers start a reroof from an aerial measurement report ordered by address. That is a separate product, and ScaledPlans does not measure roofs from an address or import those reports. For new work, the plan set is often the better source anyway, because the roof does not exist yet. Whatever you use, record it per plane, and when two sources disagree by more than your waste allowance, measure again instead of averaging.
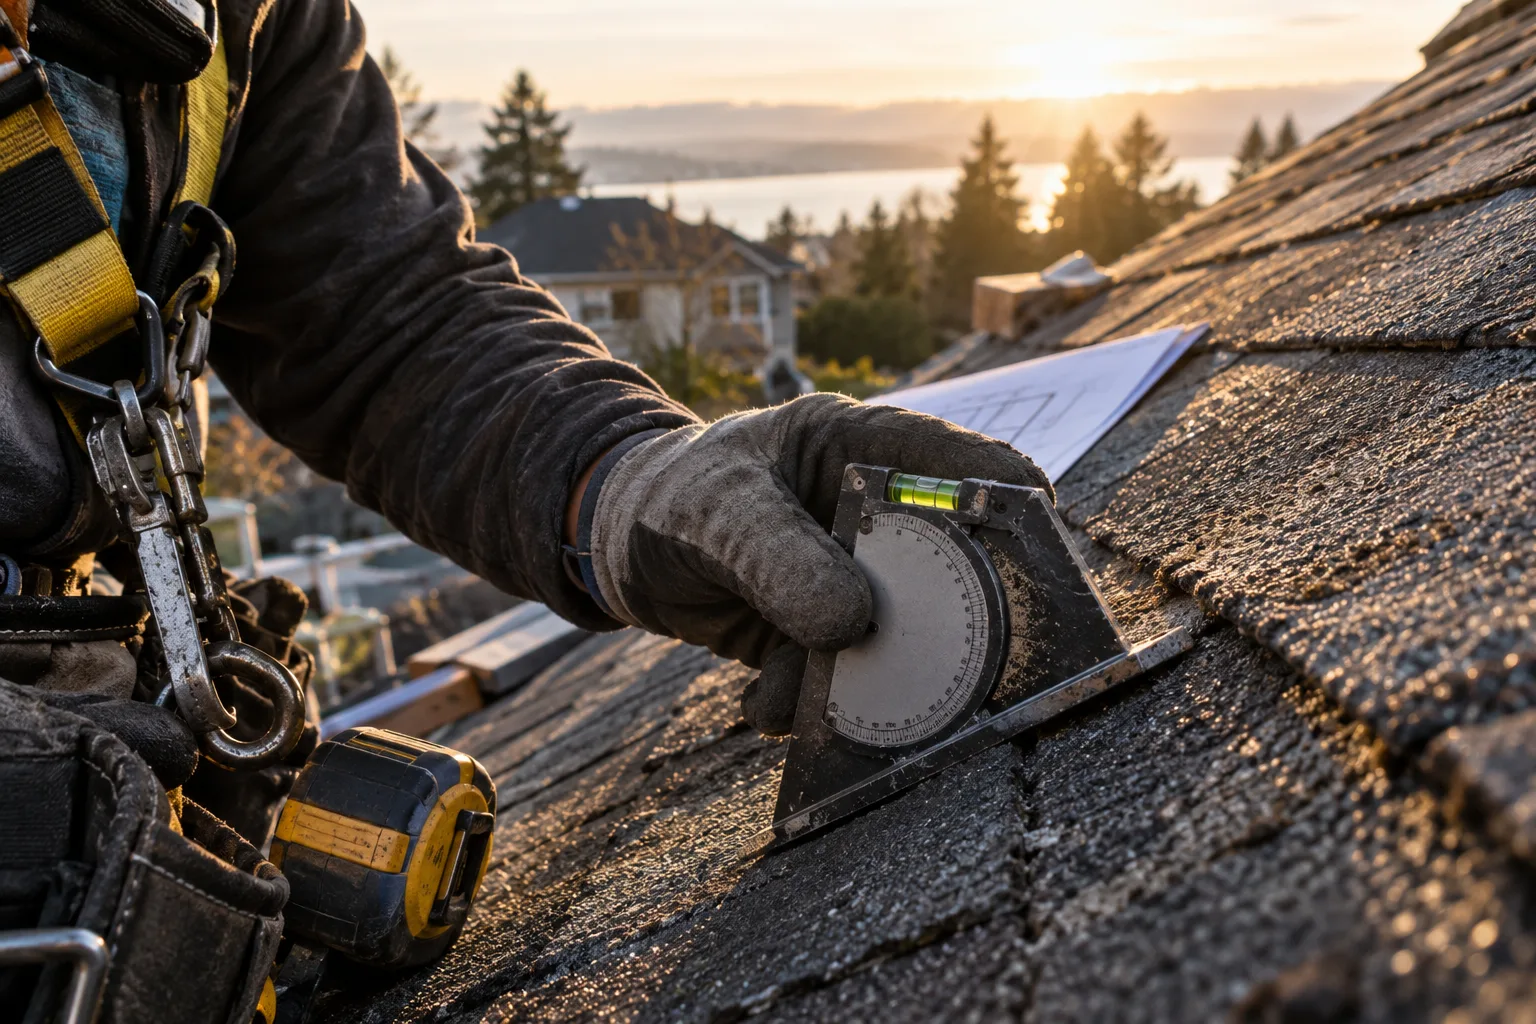
Testing roofing estimating software by hand, and where hand work breaks
The fair test is one roof you have already ordered for. Rebuild its takeoff by hand from your notes: planes, pitch, factor, area, waste, then each line type and penetration. Then run the same roof through the tool and check five things.
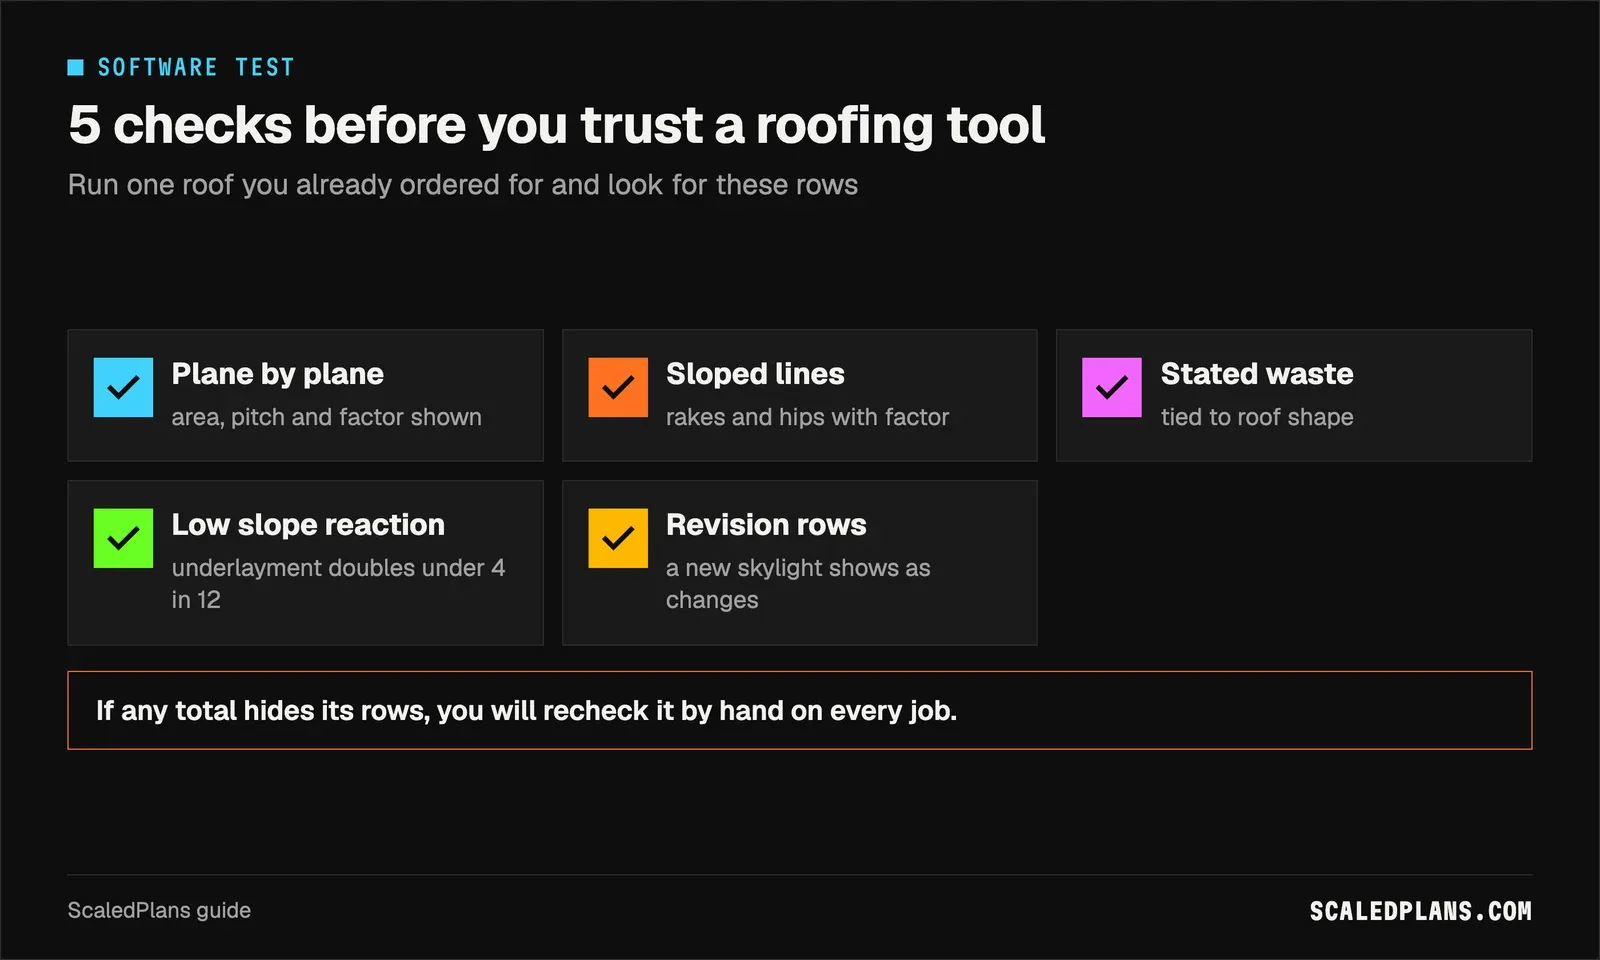
- Does each plane show plan area, pitch and slope factor, or only a total?
- Are rakes and hips sloped lengths with the factor visible?
- Is the waste rate stated and tied to roof shape?
- Does the underlayment row change when you drop one plane below 4 in 12?
- Add a skylight on a revised drawing: do the new flashing and smaller field area show as changed rows?
Doing it all by hand works for one roof. It breaks on the second revision: a dormer moves, every plane touching it gets re-measured, the rake and valley rows shift, and nothing records which number came from which sheet. On a scanned plan you are scaling off pixels. The same applies to the walls and trim around the roof, which the siding calculator handles from measured wall dimensions.
ScaledPlans measures the plan and lists the quantities, and you check every quantity before you price it. Get started when you want each row to keep its source. The free calculator hub has the rest, including the framing calculator for walls under a new roof and the siding calculator for gables and trim. For how automated counts should be tested against a manual baseline, see the AI takeoff software guide.
Common roofing estimate mistakes
- Ordering from plan area. Multiply by the slope factor for each plane first.
- Measuring rakes and hips flat. Use the slope factor on rakes and the bigger hip factor on hips.
- One waste rate for every roof. Tie waste to shape: lower on gables, higher on hips and valleys.
- Missing the low slope rule. Planes from 2 in 12 up to 4 in 12 need two layers of underlayment.
- Vague deck repair. Put a sheathing allowance in sheets on the estimate.
What is the 25% rule for roofing?
It usually means a local rule that when more than a quarter of a roof is repaired or replaced within a set period, the whole roof must meet current code. Florida's version is the best known, and state law has since changed how it applies to newer roofs. Confirm with your permit office before scoping a repair.
Is there a free app for roof estimates?
Free calculators can handle the math once you have measurements: plan area, slope factor, squares, bundles and edge lengths. They do not measure the roof for you, so the inputs still come from the plans or a tape and pitch gauge on site.
Roofing estimating software is only as good as the rows it shows: planes with pitch and factor, sloped lines, stated waste and code driven changes like the low slope underlayment rule. The habit that matters most is keeping measured inputs separate from the order, so every allowance stays visible and defensible. Run your last job through the five checks, try the calculator, or Get started.
Frequently asked questions
The best fit is software whose numbers you can trace on your own roofs. Test candidates on a roof you have already ordered for. Check that each plane shows pitch and slope factor, that rakes and hips are sloped lengths, that waste is stated and tied to roof shape, and that the underlayment line reacts to low slope planes. Pick the one whose rows you can audit without redoing the job by hand.
Free tools can handle the arithmetic once you have measurements. A good one takes footprint, overhang, pitch, roof style and waste, then returns plan area, roof area, squares, bundles and edge lengths with the formulas shown. Free calculators do not measure a roof from an address or satellite imagery, so your inputs still come from the plans or a tape and pitch gauge on site.
It usually refers to a local rule that when more than a quarter of a roof is repaired or replaced within a set period, the whole roof must be brought up to the current code. Florida's building code is the best known example, and state law has since changed how it applies to newer roofs. Rules differ by jurisdiction, so confirm with your permit office before you scope a repair.
Roofers commonly pair a measurement source, such as plans, a field sketch or an aerial report, with an estimating tool or spreadsheet that turns measurements into an order. Many also run a CRM for leads and scheduling. Whatever the mix, the handoff matters most: planes, pitch and line lengths should arrive in the estimate with their source still attached so you can check them later.
Roof design, meaning framing, loads and drainage, is a different job from estimating and needs design software and qualified review. For estimating, free tools that show their formulas are enough for area and line checks. Use the roof plan and elevations from the design set as your inputs, and leave design questions such as rafter sizing with the designer rather than the takeoff.
Measure each plane's plan area from the roof plan, read its pitch from the elevations, and multiply the plan area by the slope factor for that pitch. At 6 in 12 the factor is 1.1180, so 1,260 sq ft of plan area becomes 1,408.7 sq ft of roof. Divide by 100 to get 14.09 squares, then add a waste rate that fits the roof shape.
Put it on your next bid
Plans in. Checked quantities out.
Upload the plan you are bidding, review every quantity on the drawing and export the list. Or start with the free drywall calculator.
Share article
About the author
Founder
Oleh Onysko founded ScaledPlans and builds the product: how plans are measured, what each document includes and how every number stays checkable on the drawing.
More articles
 Takeoffs & estimating · 12 min
 Roofing Estimator: How a Roof Estimate Is Built in 6 Steps
A roofing estimator turns a roof into a scope you can price: measured squares, a pitch factor, a stated waste rate and a line for every edge, layer and penetration. Here is the method, a worked hip roof example and the mistakes that sink bids.
 Takeoffs & estimating · 12 min
 Lumber Takeoff: Count a Framing List in 5 Steps
A lumber takeoff lists every framing piece by size, length, count and wall. Count in a fixed order, convert to stock lengths and add one stated allowance. Worked example: a 20 x 12 ft addition needs 80 studs, 14 plate sticks and 17 sheathing panels.
 Takeoffs & estimating · 11 min
 AI Takeoff Software: A 5 Step Test on Your Own Plans
Before you trust AI takeoff software, run it on a plan you already counted. Score misses, extras and length drift per item, then convert each error into material. Worked example: 6 ft of wall drift leaves you 3 sheets of board short.
 Takeoffs & estimating · 12 min
 Drywall Estimating Software: Check 46 Sheets by Hand
Drywall estimating software is only as good as the wall runs it records: length, height, faces, layers and board type. Work a fictional basement from runs to 46 sheets of 4x12, compare sheet sizes, then use the same checks on any tool's export.
 Takeoffs & estimating · 12 min
 Paint Estimating Software: Check 1 Room in 8 Lines
Paint estimating software earns its place when every gallon traces to a measured surface, a coat count and a spread rate from the data sheet. Work one bedroom by hand in 8 lines, then hold any app to the same rows, with prep, access and lead-safe work kept separate.
 Takeoffs & estimating · 13 min
 Plumbing Estimating Software: Test It on 1 Bathroom
A plumbing estimate is counting and measuring: fixtures, connections, supply and DWV runs, fittings. Work a two bathroom rough-in by hand, then hold any software to the same rows: fixture tags, hot and cold apart, vertical runs, sticks and coils, and a written scope boundary.