Measure. Check. Build.
Free construction calculators
Work out the quantities. See the math. Take a clearer material list to your next job.
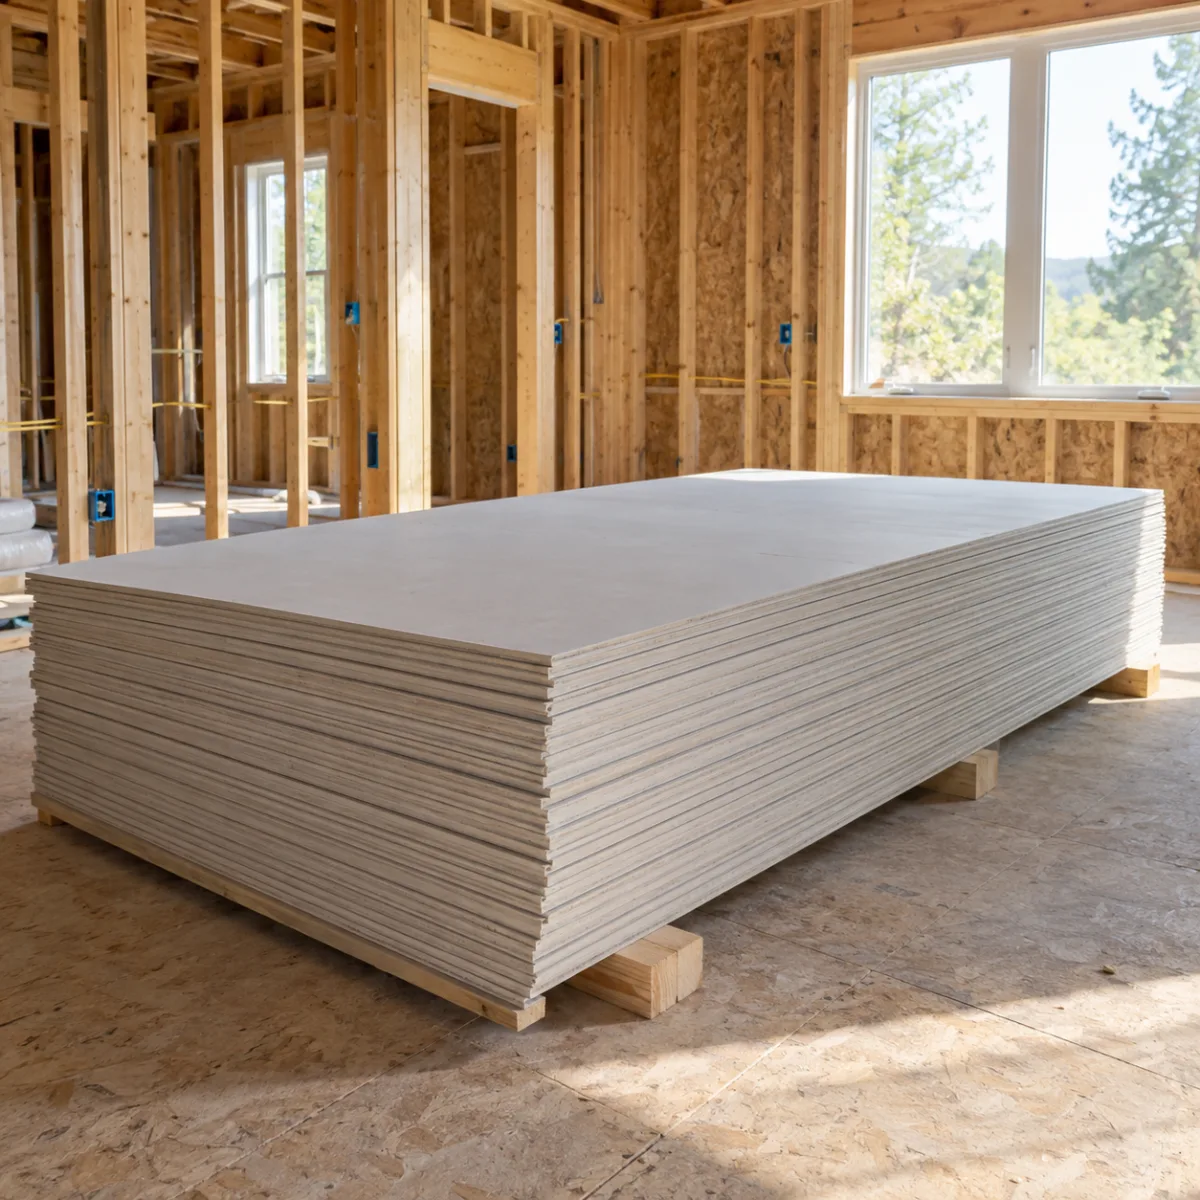
Drywall Calculator
Estimate sheets, fasteners, tape and compound with openings and waste shown separately.
Open calculator ›
Siding Calculator
Turn wall and gable measurements into squares, waste allowances and accessory quantities.
Open calculator ›
Framing Calculator
Separate common studs, corner extras, kings, jacks and plate stock before ordering.
Open calculator ›
HVAC Load Calculator
See sensible cooling, latent cooling and winter heating separately before choosing equipment.
Open calculator ›
AC Tonnage Calculator
Compare a calculated cooling load with nominal sizes and explicit capacity limits.
Open calculator ›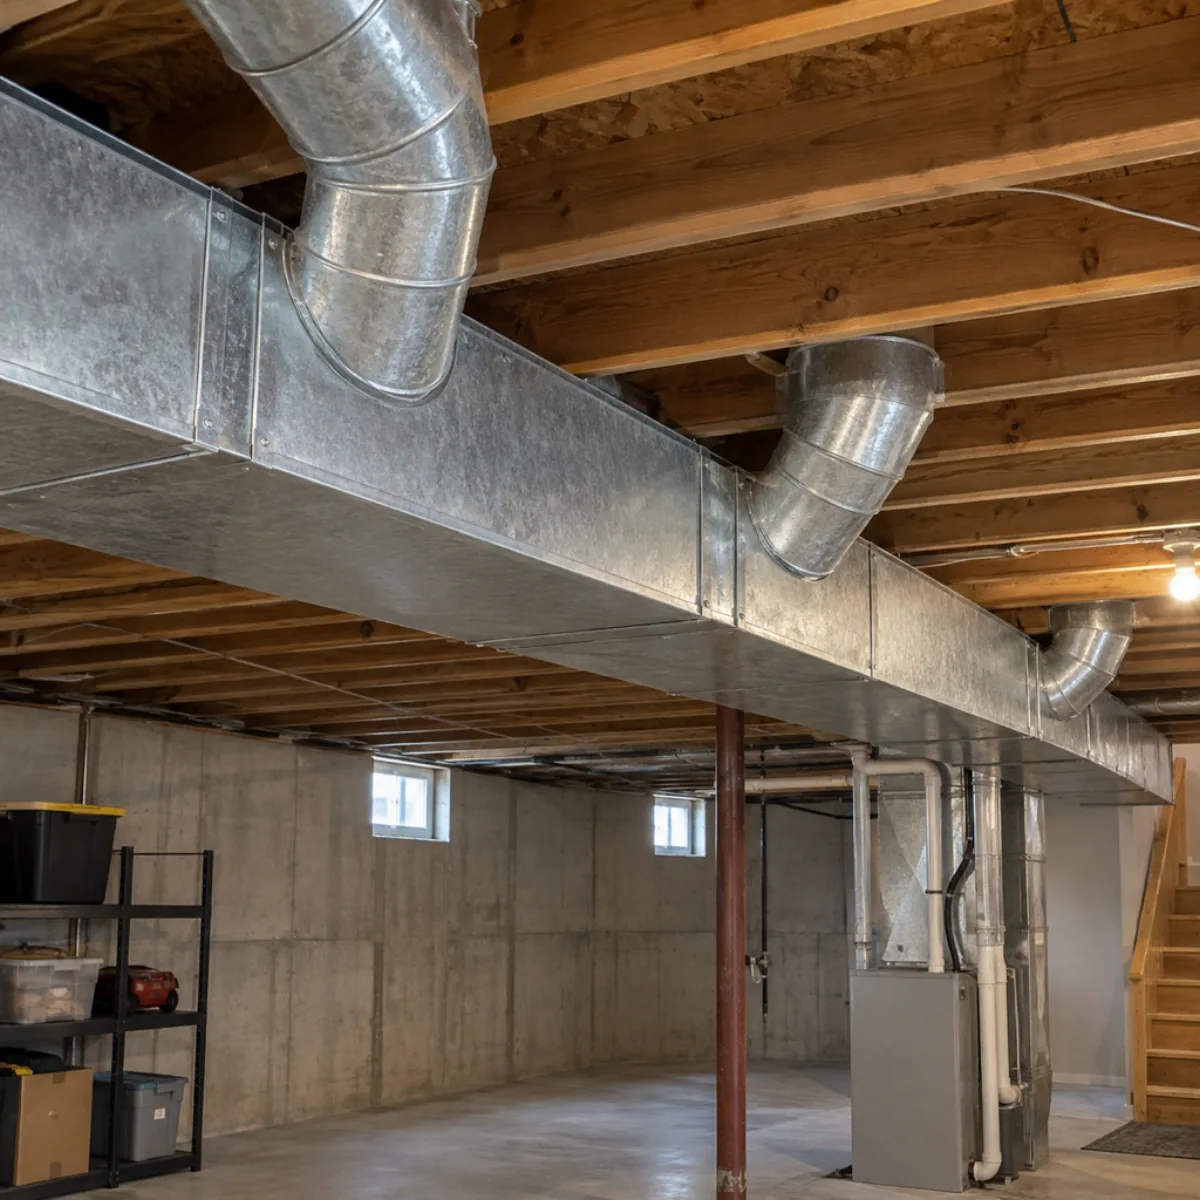
Duct Sizing Calculator
Turn airflow and friction rate into round diameter, velocity and rectangular comparisons.
Open calculator ›
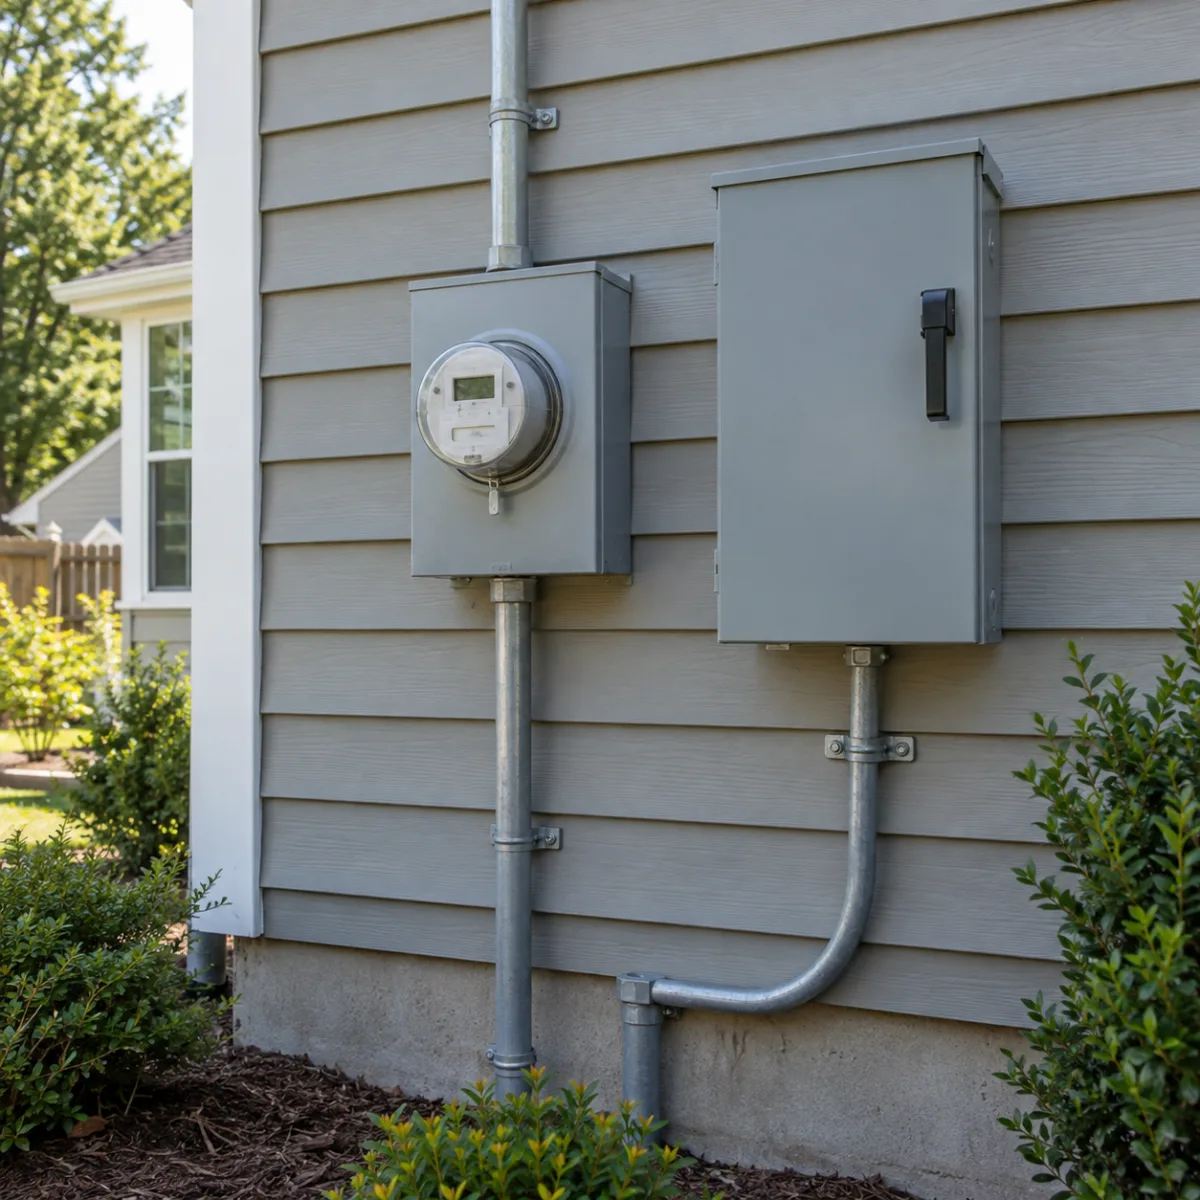
Single Line Diagram
Trace the supply, match equipment tags and keep your electrical drawings coordinated.
Read the guide › HVACManual J Calculator
Try an ACCA Manual J-style block-load estimate, then check what a complete room report needs.
Read the guide › PlansBlueprint Reader
Read the sheet, confirm its scale and trace each quantity back to a drawing reference.
Read the guide › ElectricalElectrical Estimating Software
Count devices, document route assumptions and assemble a reviewable electrical scope.
Read the guide › PermitsSite Plan for Permit
Show the property, proposed work and measured offsets on one readable placement sheet.
Read the guide ›Pick the worksheet that matches the question
A construction calculation becomes easier to check when the question is narrow. Decide whether you need a material quantity, a thermal load, an airflow comparison or an electrical schedule before entering numbers. Those outputs use different units and assumptions. Choosing a worksheet because its name sounds related can produce a precise answer to the wrong question.
For interior board quantities, open the drywall calculator. It works from room geometry, openings and the selected sheet area. For exterior coverage, use the siding worksheet, which treats rectangular walls and gables separately. For a wall-run lumber allowance, use the framing estimator, where spacing and opening assumptions are visible. Keep net measurements separate from order allowances in each case.
The page cards describe the benefit of each tool, while the supporting guides explain the documents around the calculation. You can move between them without creating a project first. Read the worked example before replacing its inputs, especially when the scope is unfamiliar. A calculator can make arithmetic repeatable, but it cannot decide whether a measured wall belongs in your bid, whether an existing device remains or whether a proposal meets a local requirement. Those are project decisions that need their own record.

Prepare dimensions before opening a calculator
Keep a small input sheet beside the drawing. Record the unit, source reference and revision for every dimension you expect to reuse. A room length copied from a floor plan and a wall height taken from a section should each keep their own reference. If one changes, you will know which calculations need attention without checking every result from scratch.
The blueprint reading guide starts with drawing identity, legends and scale. It then follows a quantity through a labeled sample so you can see how a measurement becomes an order basis. This preparation matters even when a tool asks for only a few numbers. An incorrect height affects every wall face using that height, while an opening counted twice may affect only one line.
Use consistent units inside a worksheet and make conversions explicit before transferring a result elsewhere. Linear feet, square feet and individual pieces are not interchangeable. A packaging quantity also differs from installed coverage. Save both the measured amount and any stock rounding so a later reviewer can understand the difference. When a source is unreadable, record an unresolved measurement instead of entering a familiar default. The default is useful for learning the controls; it is not evidence about the building on your desk.
Follow the HVAC sequence from building to airflow
HVAC work has several linked calculations, but each stage needs a different set of inputs. Start with the building and its design conditions. Move to equipment performance only after the load inputs are reviewed. Distribution then uses the required room airflow and system assumptions. Jumping directly from floor area to a nominal equipment size skips the information that explains why the house needs that capacity.
The HVAC load calculator exposes a simplified block model. The Manual J guide explains what that model leaves out and which room-level records belong in a complete calculation. Once a reviewed load exists, the AC tonnage comparison provides a separate capacity screen. The duct sizing worksheet illustrates airflow, friction and diameter relationships under stated assumptions.
Keep the result from each stage labeled with its purpose. A building cooling load is not a manufacturer's delivered capacity, and a duct diameter alone is not a complete distribution design. Preserve sensible and latent information where it is provided. If a window or envelope assumption changes, revisit the dependent calculations deliberately. Do not conceal that revision by adding an unexplained allowance to the equipment. A visible sequence makes the review conversation more specific and helps identify which missing input should be resolved next.

Coordinate electrical quantities across documents
Electrical planning involves a drawing, a circuit record, a demand calculation and an estimate, each with a separate purpose. The same equipment may appear in all four. Stable identifiers allow you to compare them without assuming that the totals mean the same thing. A panel name should remain recognizable even when its selected model or circuit description changes during review.
Use the panel schedule tool for connected loads and circuit organization. Use the electrical demand worksheet for its stated dwelling calculation methods and exclusions. The one-line diagram guide explains the equipment relationships, while the electrical estimating workflow follows devices and routes into material scope. Keep source data attached when moving between these records.
An empty circuit position is not proof of spare service capacity. A schematic line is not a measured conductor route. An equipment symbol is not a complete purchasing assembly. Those distinctions explain why separate tools remain useful even on a small residential project. Before issuing a revised package, compare the identifiers and status fields, then resolve any mismatched loads or models. The worksheets support that check through reproducible arithmetic; they do not select every protective device, connection detail or installation method needed for the actual electrical design.
Read sample files as examples with defined limits
A sample file lets you inspect the shape of an output before organizing your own job. Read its scope statement first. The file may demonstrate arithmetic, drawing relationships or a report layout without supplying the verified inputs needed for construction. Its usefulness comes from making those limits visible, so you can see which information your project still needs.
The material examples retain drawing references and separate variations. The electrical example keeps equipment ratings unresolved. The HVAC report example separates room outputs from the incomplete source record. The site examples distinguish measured offsets from regulatory requirements. These differences are intentional because the documents serve different review tasks. Do not remove the scope note when sharing a screenshot or excerpt with a colleague.
The permit placement guide shows how a fictional coordinate drawing can teach offset arithmetic without establishing a legal boundary. It also gathers fence, pool, shed, ADU and solar questions into one checklist. Use the same reading habit with every calculator example: identify what was supplied, what was assumed and what the result actually demonstrates. Then replace those facts with your own source information. Where a result depends on a professional design or local checklist, keep that dependency in the project record instead of treating a familiar-looking sample as an approved template.

Keep a review trail when quantities change
Record the starting inputs before trying an alternative. Name the change in ordinary project language: a revised opening, a different board size, a verified window rating or an updated equipment model. Changing one item at a time makes the resulting difference easier to explain. If several inputs change together, save the complete revised set so another person can reproduce the comparison.
A useful handoff includes the source drawing issue, the chosen worksheet, the inputs and the result with units. Add a short note describing exclusions and unresolved questions. For purchasing work, keep the net quantity, selected allowance and final stock rounding separately. For calculation work, retain the design conditions and method assumptions. This record is more durable than a screenshot showing only the largest number.
The related links on each page lead to the next review task rather than forcing every job through one sequence. Follow the links that match your scope, and return to this index when a different trade needs attention. When your measurements and document needs are clear, the project setup link carries you into the ScaledPlans brief. Bring the checked references with you. A concise, traceable input record gives the next person a better starting point than a long list of unexplained totals copied from several unrelated examples.
Start with the measurement, then check the assumption.
These worksheets show how an input becomes a result. For material orders, record dimensions, openings and waste separately. For HVAC work, calculate the load before comparing nominal equipment sizes. For electrical work, keep a panel schedule of connected loads separate from a dwelling service demand calculation.
The example inputs are fictional jobs you can reproduce. Replace them with measured values and equipment nameplates. Assembly instructions, manufacturer performance data and your local adopted code govern the final choice. A worksheet makes the review easier; it does not approve a design.
Get started with your project