Electrical Estimating Software: 6 Steps to a Clean Takeoff
Oleh Onysko 16 October 2026 11 min read

In this article
Electrical estimating software turns a plan set into counts, lengths and a written scope you can price: devices by type, routes with stated allowances, and equipment assemblies tied to tags. The good ones keep every quantity traceable to a symbol, a sheet and a revision, so you can defend the number when the drawings change.
The best test of a tool is not your first takeoff. It is the first revision. Software that matches your total on day one but cannot show you which rows changed when a fixture type swaps is worse than a slower tool that can, because the revision is where electrical bids quietly lose scope.
| Item | Answer |
|---|---|
| What it counts | Receptacles, switches, fixtures, special equipment connections |
| What it measures | Raceway and cable routes, plus stated vertical and termination allowances |
| What it should keep | Sheet, revision, symbol category, unit and status on every row |
| What it does not do | Size conductors, pick breakers or prove service capacity |
| How to judge it | Run one small, checked job and one deliberate revision |
What electrical estimating software actually does
An electrical estimate rests on three kinds of numbers. Counts come from symbols. Lengths come from measured routes. Assemblies turn a counted device into the box, cover and accessories you actually buy. Electrical takeoff software should keep those three apart so a reviewer can challenge one row without throwing out the rest.
Start with the legend. Give every symbol that changes material or labor its own category: duplex receptacles, GFCI receptacles, single pole switches, dimmers, each fixture type and each special connection. Match lighting tags to the fixture schedule. A symbol repeated inside a typical detail may explain how to install something without adding another fixture to the order.

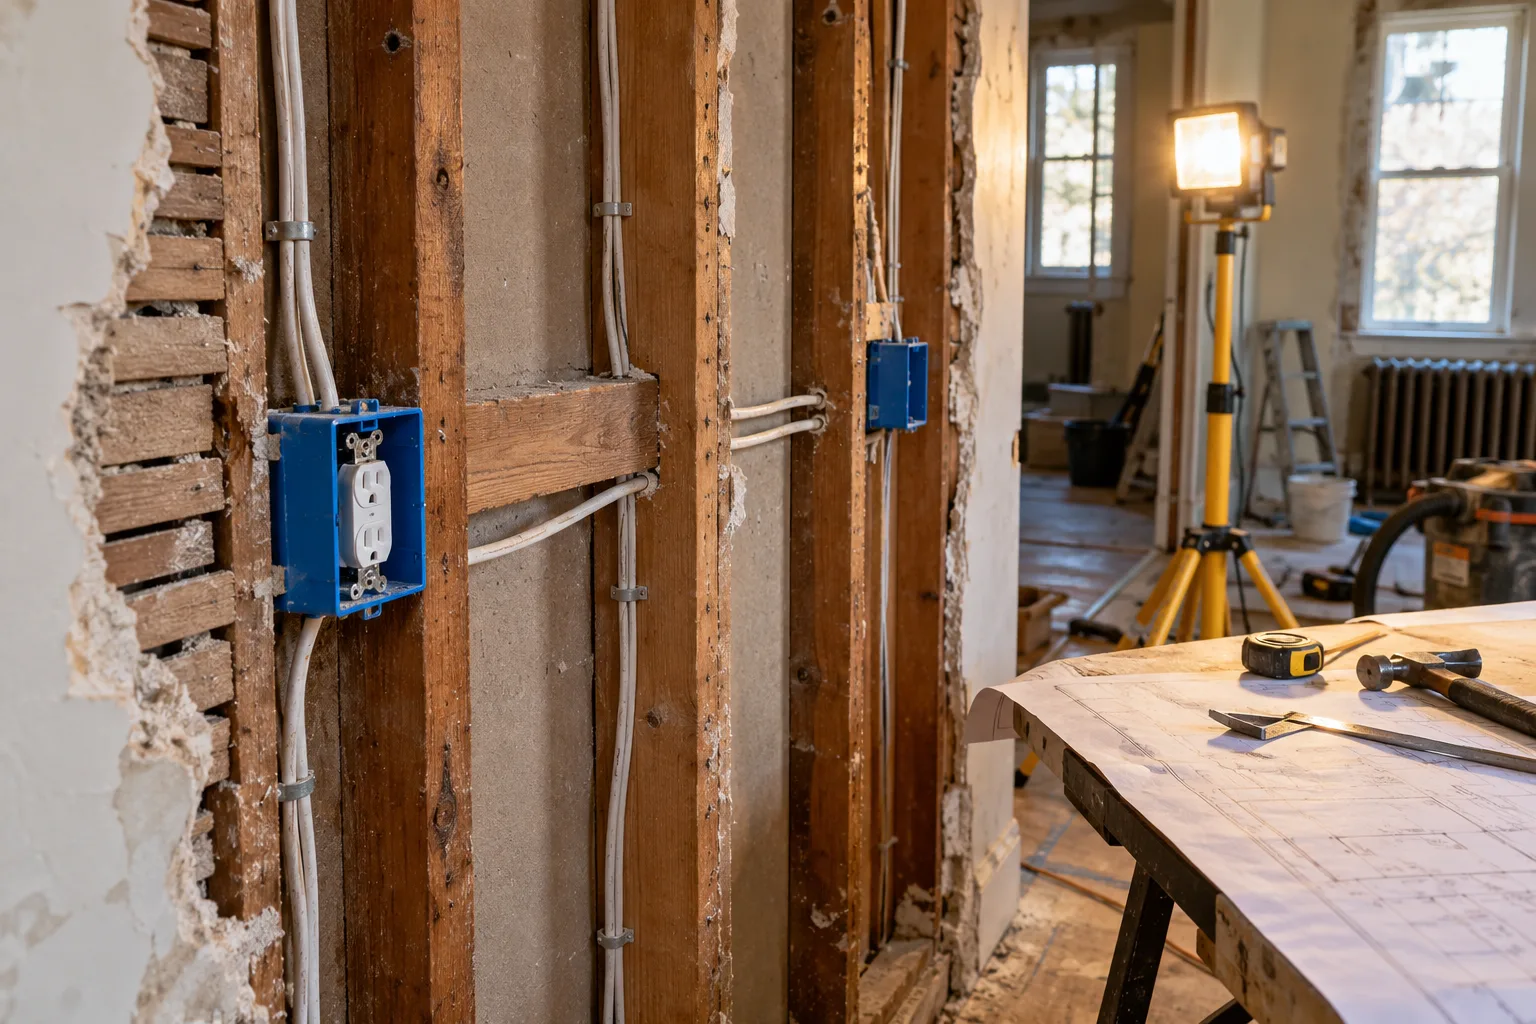
Remodel sheets are the classic trap. Demolition and new work often share one plan, so counting every visible mark can double your device scope. Tag each count as existing to remain, relocated, removed or new before it reaches the bid. Where two symbols overlap or one has no legend entry, write a question instead of picking the closest familiar item. For scale checks and detail references, the blueprint reader guide walks through reading the set before you count it.
Electrical takeoff: assemblies and equipment tags
An assembly bundles the parts assumed for a repeated install. Two assemblies with the same friendly name can carry very different material and labor, so the contents have to stay visible. Before you multiply an assembly by a count, record the spec, the mounting condition and the termination assumptions it uses.
Equipment tags are not assemblies. A sample sheet with four tags (UT1 utility, SE1 service, P1 panel, PV1 inverter) gives you four coordination anchors, not four line items. P1 still needs a verified spec and its accessory scope. PV1 still has no selected model or connection design. Filling those gaps from a generic library entry gives you a quantity list that looks more precise than the information behind it. Keep the tags identical to the ones on the single line diagram so a model change can be traced from drawing to bid.

Worked example: route length with stated allowances
A line measured across a plan is a horizontal reference, not an order quantity. Rises, drops, panel entries and terminations need their own rows so a field check can replace one assumption without remeasuring the whole sheet.
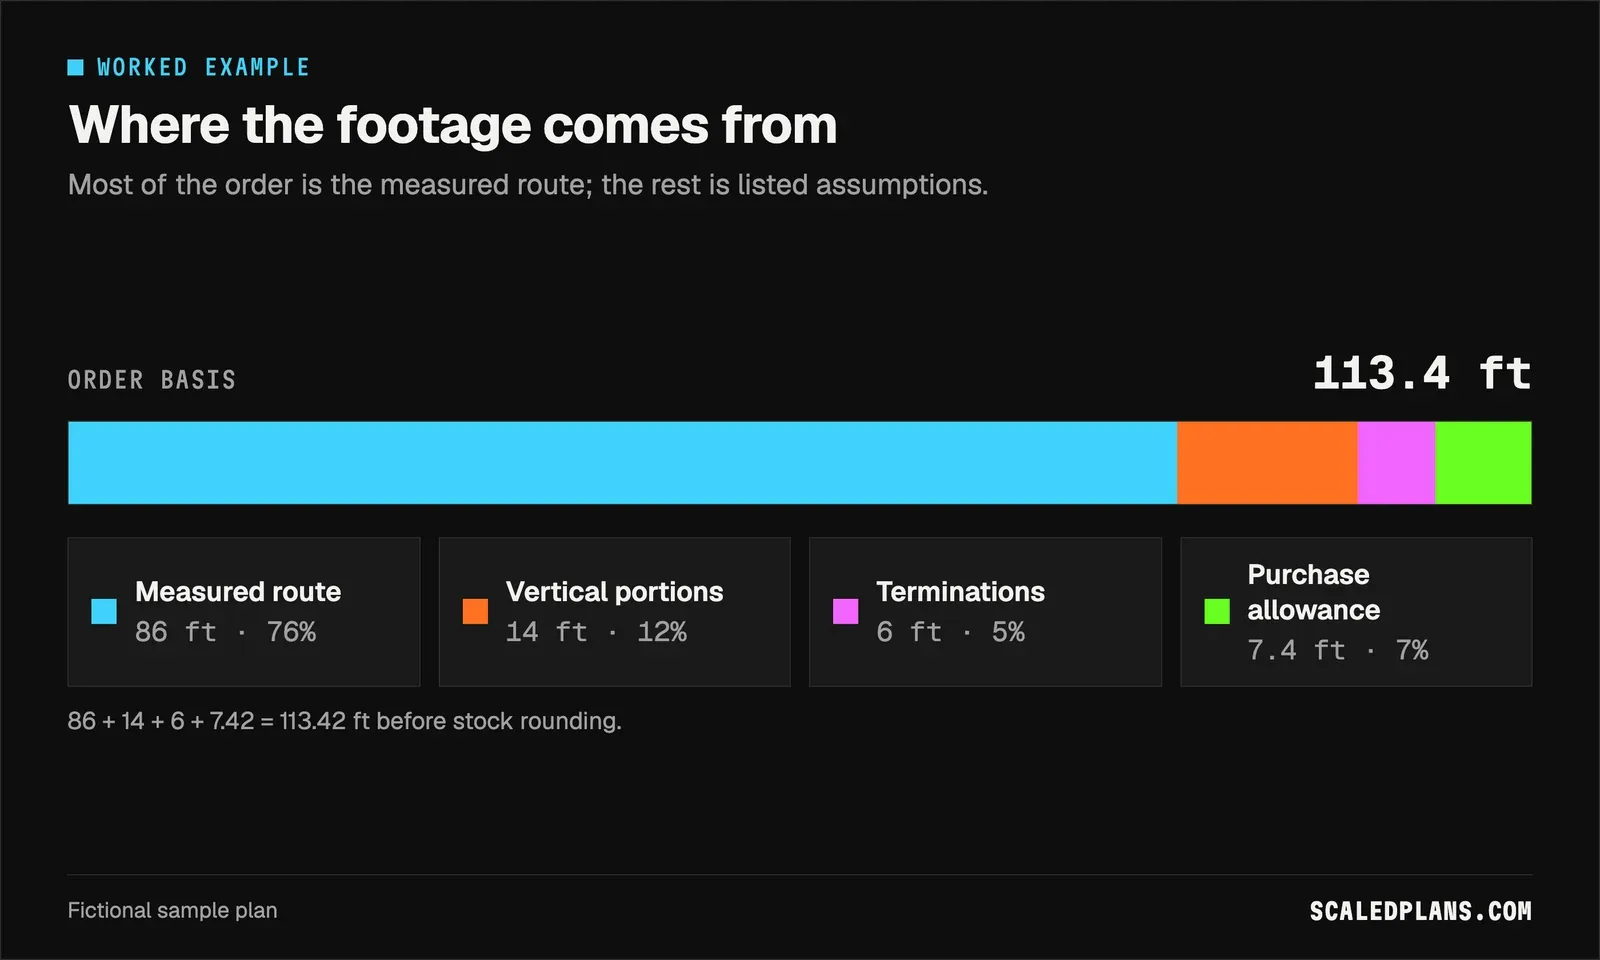
Here is a fictional exercise. A measured route is 86 ft. The vertical portions add 14 ft. A termination allowance adds 6 ft. That gives a 106 ft route basis. You then choose a 7% purchasing allowance.
| Row | Basis | Result |
|---|---|---|
| Measured route | Scaled on a calibrated sheet | 86 ft |
| Vertical portions | Rises and drops listed | 14 ft |
| Terminations | Stated allowance | 6 ft |
| Route basis | 86 + 14 + 6 | 106 ft |
| Purchasing allowance | 106 x 0.07 | 7.42 ft |
| Order basis | 106 + 7.42 | 113.42 ft before stock rounding |
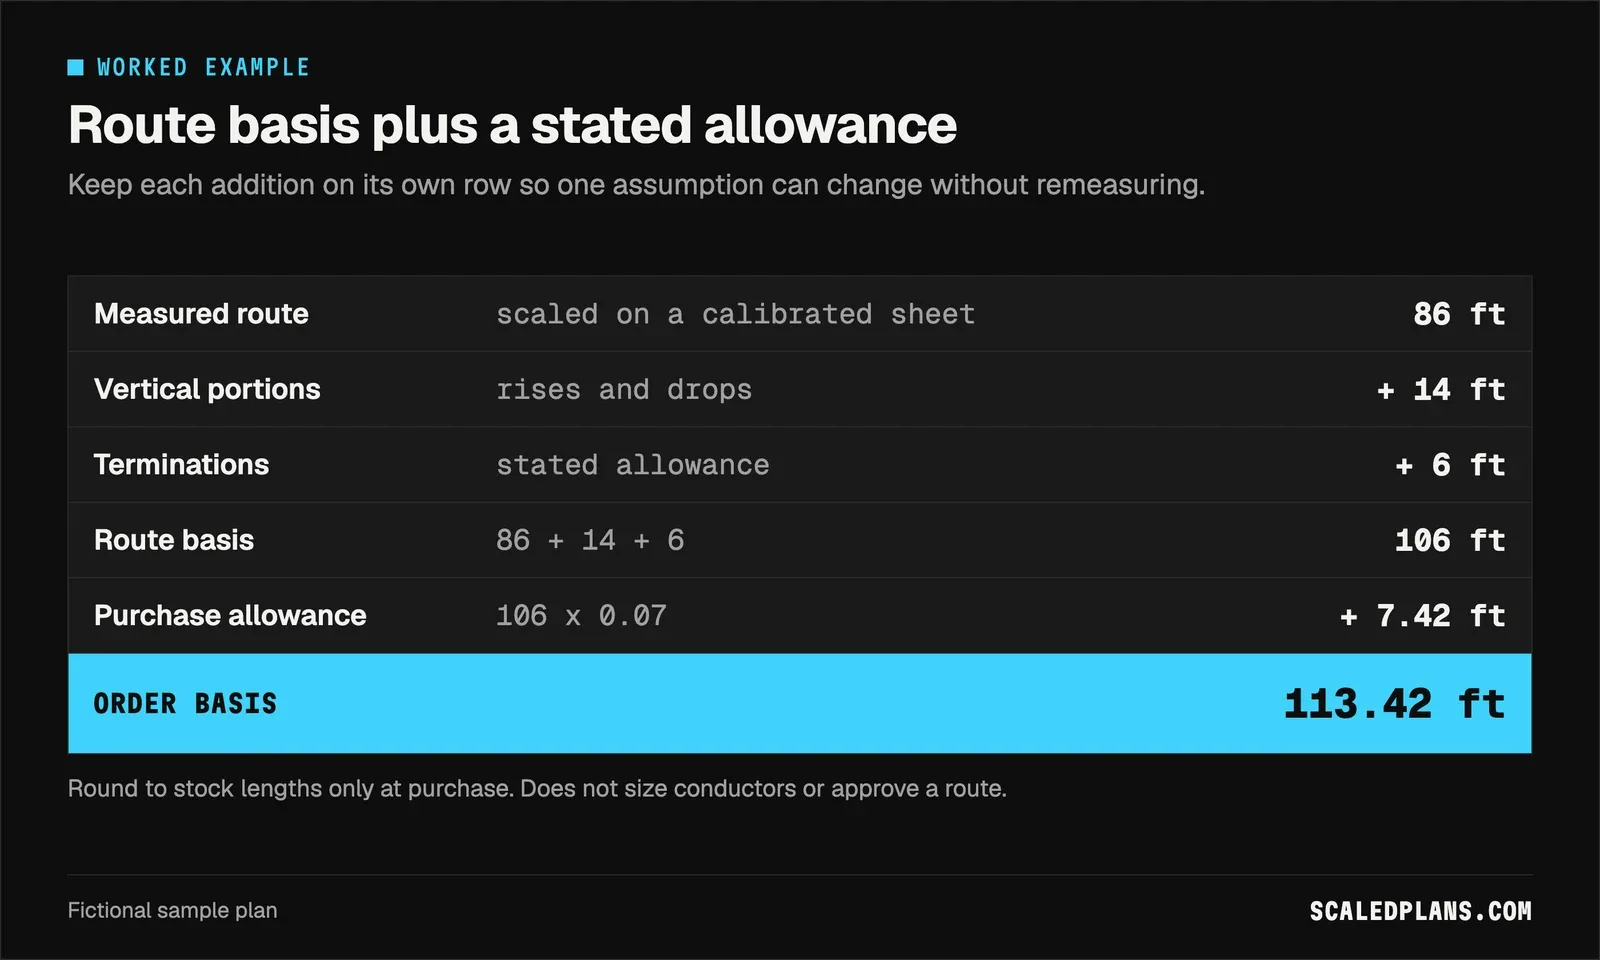
Round to reel or stick lengths only when you buy, and keep 106 ft as the measured basis. Otherwise a stock decision turns into a design length and carries extra footage into every revision. This arithmetic shows clean quantity handling. It does not size a conductor, set a conductor count or approve a route. Those come from the design and the code edition your jurisdiction adopted.
Calibrate first. Check the PDF scale against a printed dimension on the same sheet; Bluebeam's guide to setting the page scale shows the idea, and it applies to any viewer. Counts have no units, but lengths do, so never trust a measured route from an uncalibrated sheet.
How to run an electrical takeoff you can defend
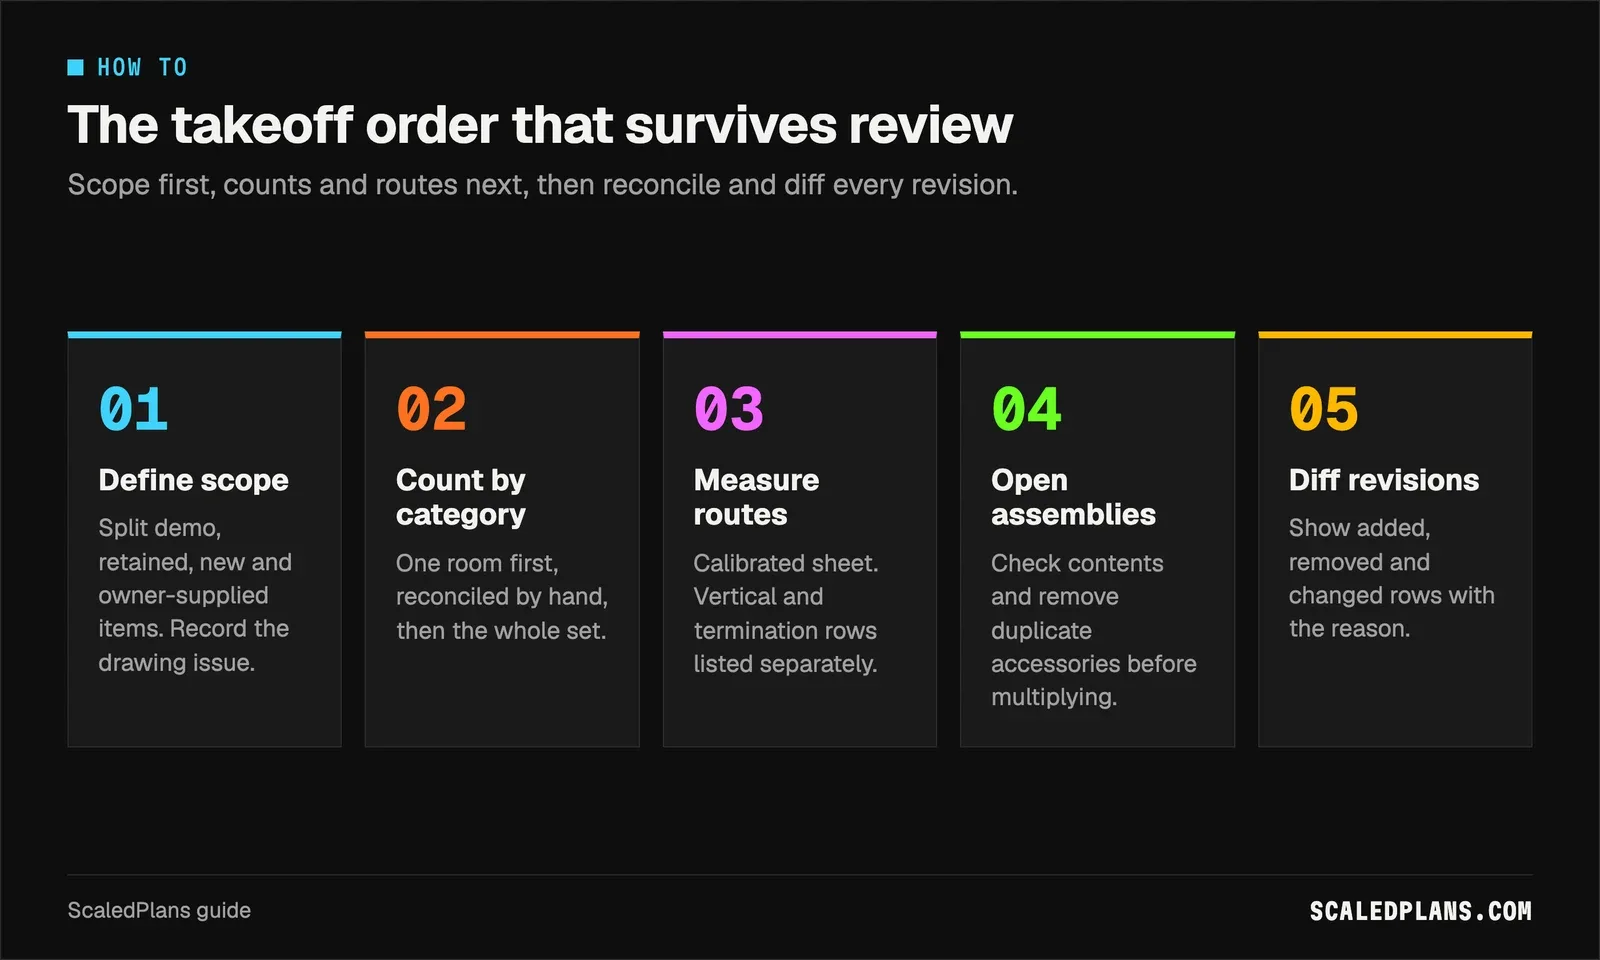
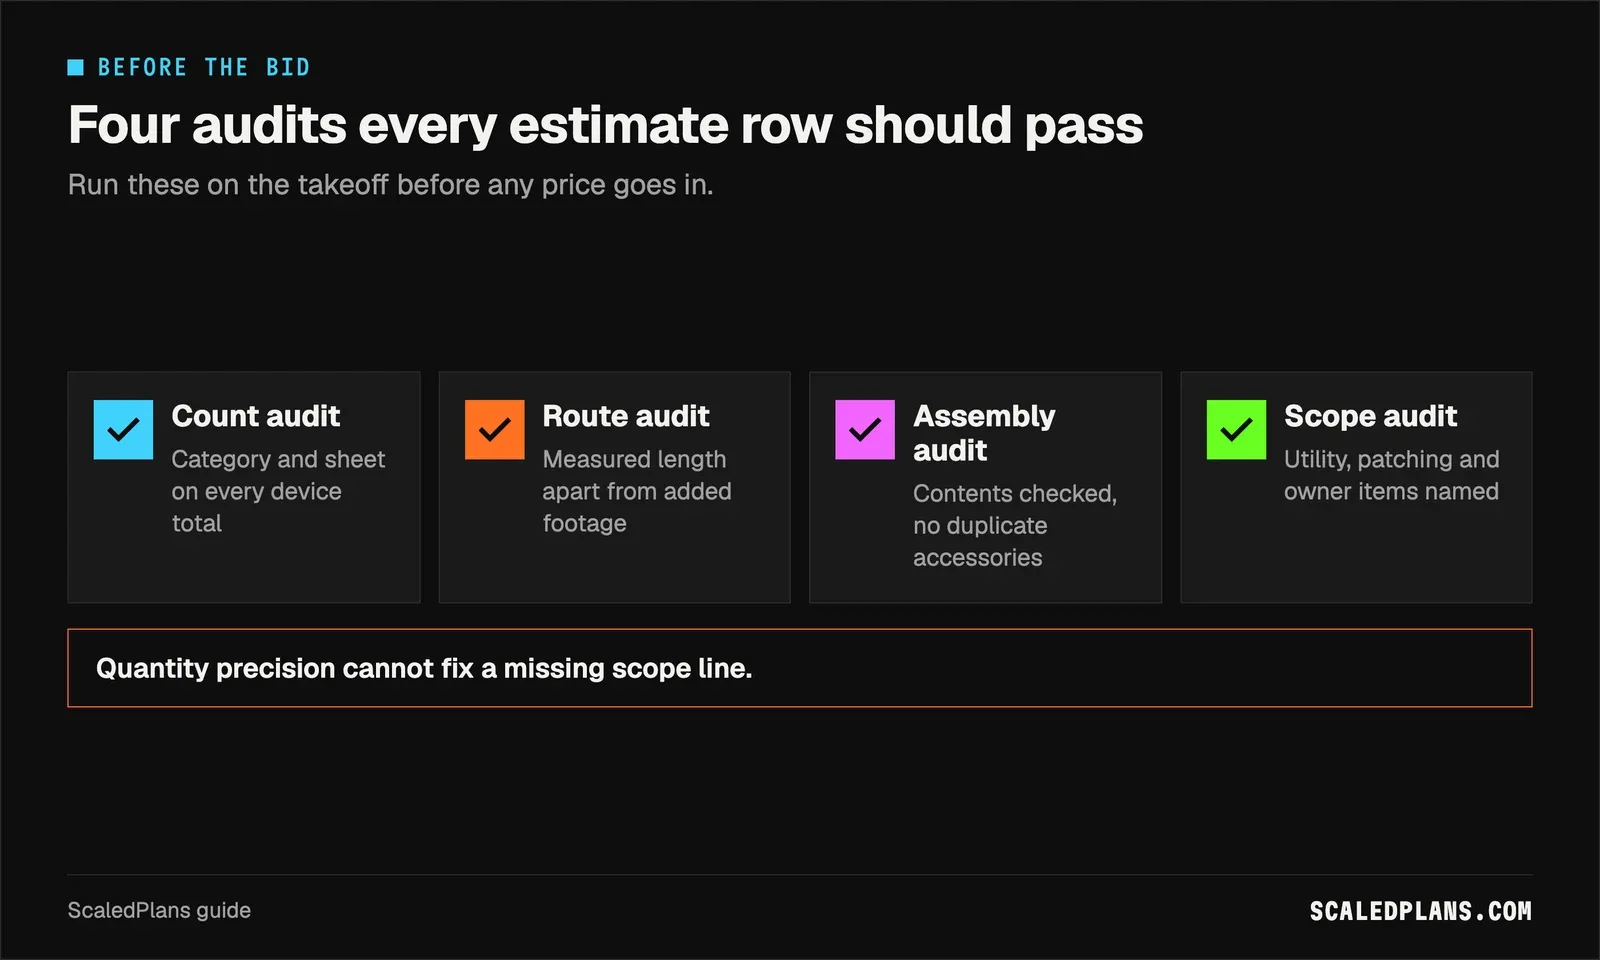
- Define the scope first
Read the legend, fixture schedule and scope notes. Split demolition, retained items, new devices and owner-supplied equipment, and record the drawing issue you used.
- Count symbols by category
Count one room or circuit group, reconcile it by hand, then expand. Every count carries its sheet, revision and status.
- Measure routes on a calibrated sheet
Measure horizontal routes, then list rises, drops and terminations as separate rows. Name the unit: cable, raceway or individual conductors.
- Open every assembly before you multiply
Check what a repeated item contains and remove duplicate accessories before it is multiplied across the job.
- Reconcile with the panel schedule and demand calc
Match tags with the one-line and panel schedule, and keep the demand calculation as its own record.
- Diff the next revision
Compare added, removed and changed rows, and keep the old count with the reason it changed.
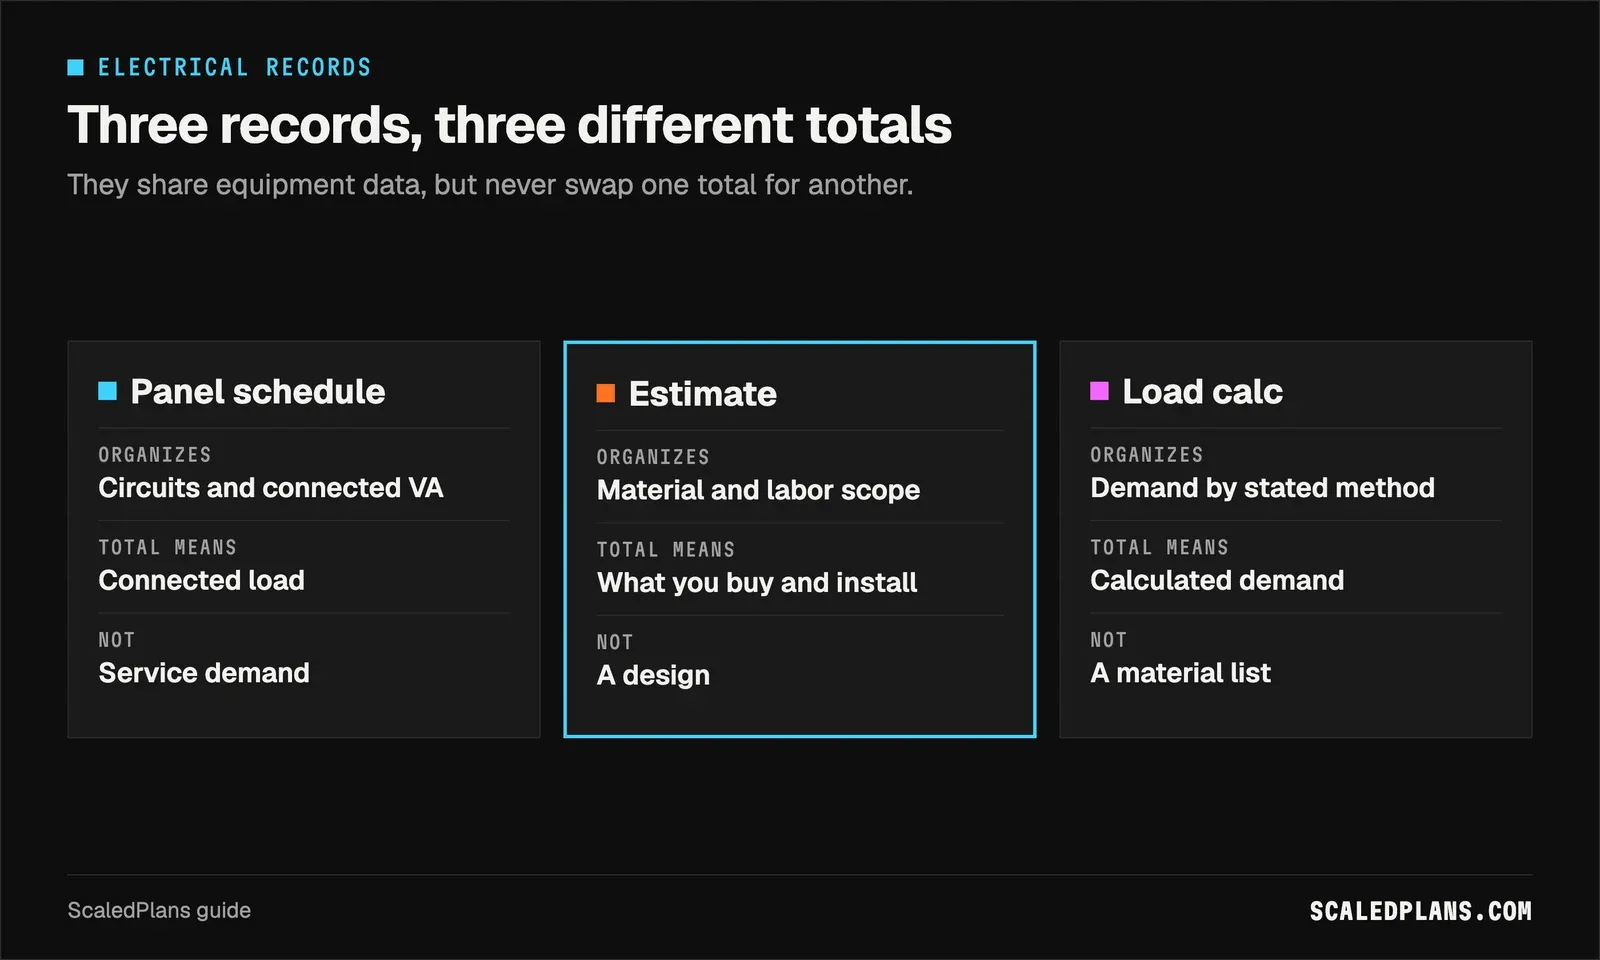
Panel schedule, load calc and estimate: three different totals
A panel schedule organizes circuits and connected load. An estimate organizes material and labor. A service load calculation evaluates demand under a stated method. They share equipment data, but each total answers a different question. Fill the panel schedule template for connected VA and leg balance, and run demand separately. Mechanical equipment adds a unit boundary too: a heat pump's cooling load is in Btu/h, while your takeoff needs its electrical nameplate input. The HVAC estimating software guide covers who carries that condenser circuit.
Electrical estimates by job type
| Situation | What to check |
|---|---|
| Remodel with a demo sheet | Status on every device: remain, relocate, remove or new |
| New construction | Fixture schedule tags match counted symbols; typical details not double counted |
| Service upgrade | SE1 and P1 specs verified; utility work in or out of scope |
| Owner-supplied fixtures | No material row, but keep the install labor row |
| Solar or battery addition | PV1 model and connection still open; do not price a guess |
| Revision after the bid | Same count, new fixture type still changes the assembly |
That last row matters. If a fixture type changes but the count stays at twelve, the quantity looks unchanged while the assembly and labor do not. A revision report should show that. Surface repair is another quiet one: if your scope includes making good after rough-in, size it with the drywall calculator and say which trade carries it.
Estimating by hand, and where it breaks
The manual method works. Print the sheets, highlight each symbol category in its own color, tally by room, scale routes with an architect's scale and keep a spreadsheet with sheet, revision, unit and allowance columns. Check panel totals in the free electrical load calculator and the other worksheets in the tools hub.
It breaks on the second issue of the drawings. You re-measure every changed route, the old highlights are on paper nobody can find, a scanned sheet has no reliable scale, and nothing records which symbols you already counted.
ScaledPlans measures the plan and counts the symbols, and you check every quantity before you price it. Get started with one sheet you have already counted by hand.
Common electrical estimating mistakes
- Counting demo and new marks together. Give every device a status before it reaches the bid.
- Treating equipment tags as line items. Build each tag into a real assembly with its own scope, or leave it open.
- Burying allowances in the route. Keep measured length, vertical portions, terminations and purchase allowance on separate rows.
- Summing breaker ratings as demand. Use a stated demand method in its own record.
- Leaving scope boundaries unsaid. Write who carries utility work, trenching, patching and owner-supplied installs.
How do you write an estimate for electrical work?
Define inclusions and exclusions first, then count devices by type, measure routes with listed allowances and build assemblies for repeated items. Add your own supplier quotes and labor assumptions last, after someone else has checked the quantities. Keep sheet references on every row so the bid can be revised without starting over.
Is electrical design software the same as estimating software?
No. Design software supports calculations, drawings and code checks under the NFPA 70 (NEC) edition your jurisdiction adopted. Estimating software turns finished or in-progress drawings into quantities and scope. Many shops use both, and the handoff between them is where tags must stay identical.

Electrical estimating software is worth using when every count, length and assembly points back to a sheet and revision you can check. The habit that matters most is diffing each new drawing issue row by row instead of trusting a new total. Try the free electrical load calculator for the panel side, or get started with ScaledPlans on a sheet you already know.
Frequently asked questions
Design and estimating are different jobs. Design software handles load calculations, circuiting, drawings and code checks, and its choice depends on the review your jurisdiction and engineer require. Estimating software handles counts, routes, assemblies and bid scope. Pick a design tool for the calculations you must submit, and judge an estimating tool on whether its quantities stay traceable to the drawings. Neither replaces review by a licensed electrician.
The best one is the one whose numbers you can audit on your own jobs. Take a small job you have already counted by hand, with one revised fixture, one owner-supplied item and one unclear symbol. Run it through each candidate. Check that rows show sheet, revision and unit, that corrections keep their source, and that a revision shows changed rows, not just a new total.
First decide what you need: a device count, a panel worksheet or a demand calculation. Free calculators handle single arithmetic tasks well, such as a panel schedule or a dwelling load worksheet, without a login. They are not a complete bid. For the takeoff itself, a spreadsheet with sheet, revision, unit and allowance columns is a solid free start until revisions make it hard to keep current.
Practice on real plan sets. Read legends and fixture schedules, count one room, then compare your count with a checked reference. Learn how routes, vertical runs and terminations add length, and how assemblies change material and labor. Ask an experienced estimator to review your scope letters. Keep design questions, like conductor sizing, separate from quantity practice and take them to a licensed electrician.
The math is simple. The hard part is keeping drawings, scope, quantities and assumptions consistent across revisions and between people. A clear system for sheet references, open questions and revision notes makes the job far easier. Experience teaches you to spot missing details, like an unscheduled fixture or a demo symbol, and to avoid pricing an unresolved design as if it were finished.
A useful takeoff lists devices by category, fixtures by schedule tag, special equipment connections, measured routes with separate vertical and termination allowances, and the assemblies behind repeated items. Every row should carry its sheet, revision, unit and status. Add a scope section that names exclusions such as utility work, trenching, patching and owner-supplied fixtures. Prices and labor come after the quantities are checked.
Put it on your next bid
Plans in. Checked quantities out.
Upload the plan you are bidding, review every quantity on the drawing and export the list. Or start with the free electrical load calculator.
Share article
About the author
Founder
Oleh Onysko founded ScaledPlans and builds the product: how plans are measured, what each document includes and how every number stays checkable on the drawing.